

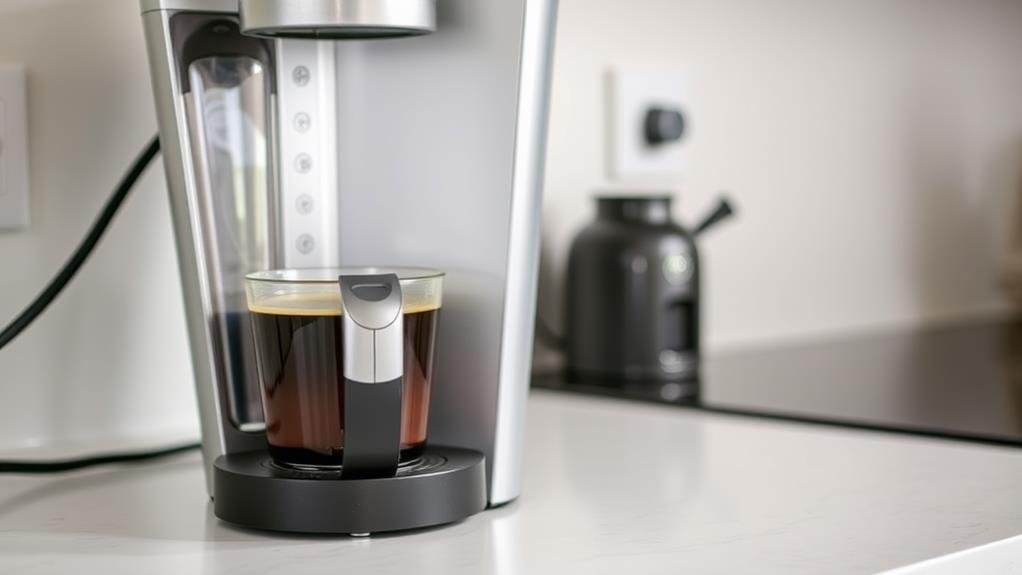
To use a Keurig coffee maker, I start by setting up the machine, plugging it into a grounded outlet, and filling the water reservoir with fresh, filtered water. Next, I insert a K-Cup pod, secure the handle, and place a mug on the drip tray. I select the desired brew size using the control panel and wait for the machine to heat up. After the machine signals it's ready to brew, I press the brew button and wait for my coffee to be dispensed. Following these basic steps ensures a perfect cup of coffee, but there's more to explore for prime brewing results.
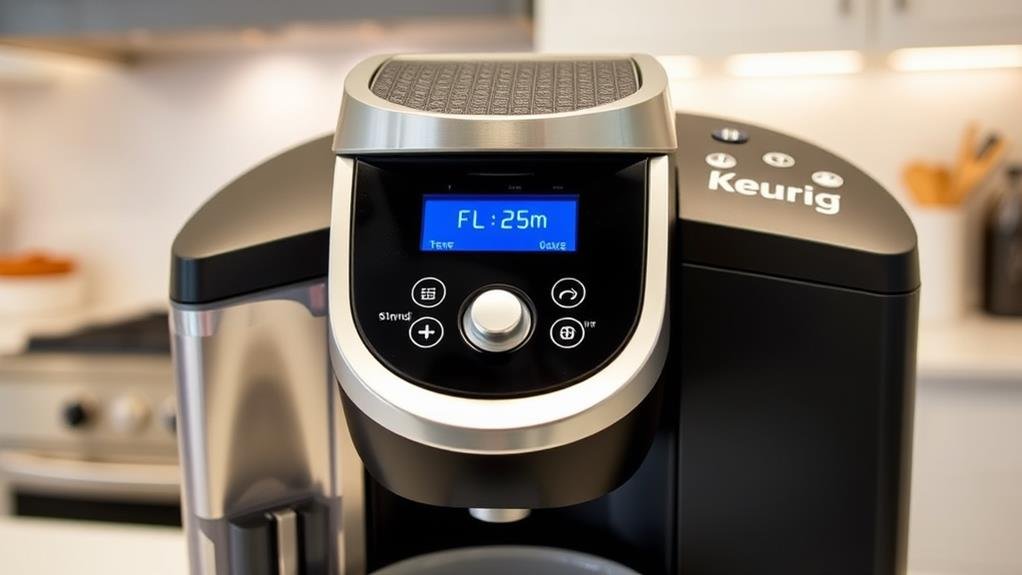
Setting Up Your Keurig Machine
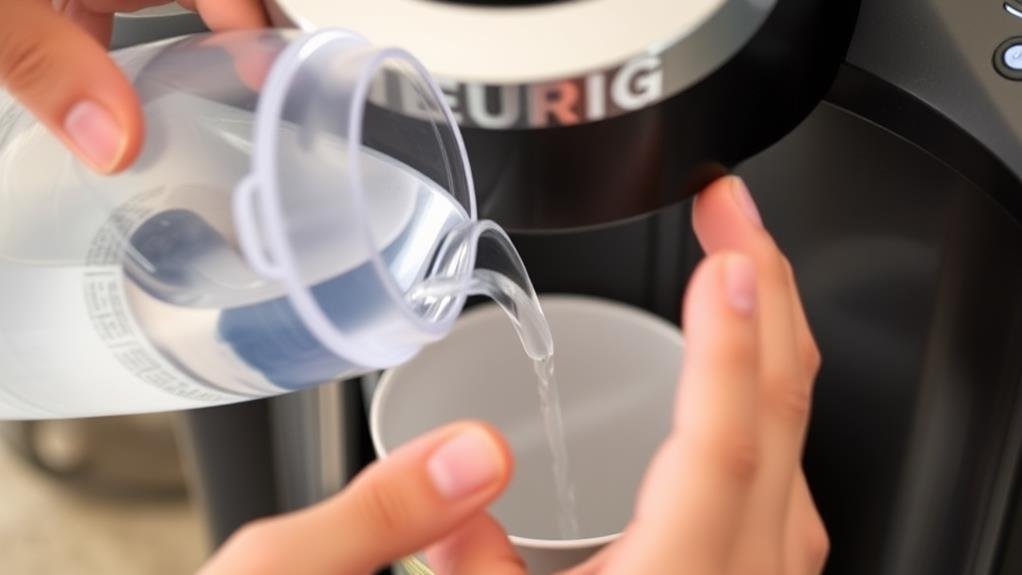
To begin, I plug my Keurig machine into a grounded outlet to ensure a safe and stable power supply. This is a vital step, as it guarantees the machine functions properly and minimizes any potential risks. Once plugged in, I proceed to filling the water reservoir with clean water. It's crucial to use fresh, filtered water to prevent any impurities or odors from affecting the taste of my coffee. I make sure the reservoir is securely in place to avoid any leaks or spills.
With the water reservoir filled, I press the power button to start heating the water for brewing. The machine will take a few minutes to heat up, and I wait for it to signal that it's ready to brew. This is typically indicated by a light or a beep, depending on the specific Keurig model. At this point, I'm prepared to insert a K-Cup and start the brewing process. However, I'll pause here, as the actual brewing process requires some additional steps, which I'll cover next. For now, my Keurig machine is set up and ready to go.
Brewing With K-Cup Pods
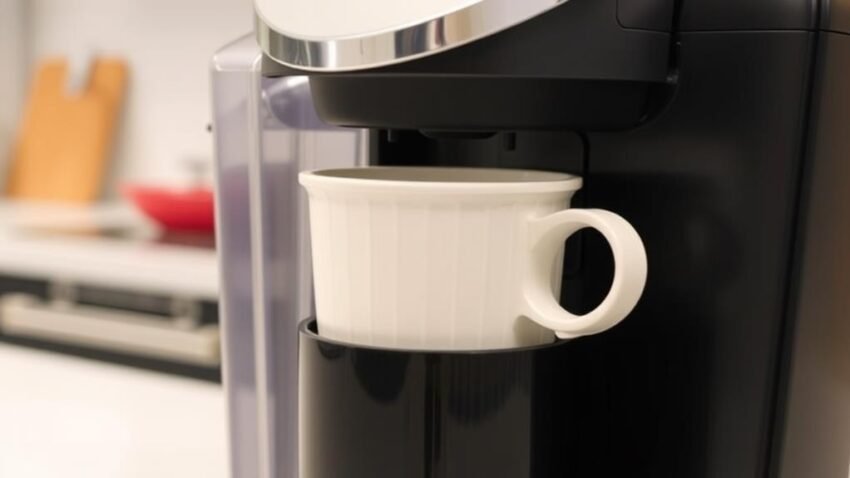
My Keurig machine is now set up and ready to brew a fresh cup of coffee. I'll guide you through the process of brewing with K-Cup pods. First, I fill the water reservoir and turn on the machine. Once it's on, I lift the pod holder and insert a K-Cup pod of my choice. I then lower the handle securely to confirm the pod is in place.
Next, I place my mug on the drip tray, ensuring it's aligned with the spout. Now, I select the desired brew size using the control panel. The machine offers various brew sizes, so I can choose the one that suits my needs. After selecting the brew size, I wait for the machine to heat up and display the "Ready to Brew" message. This indicates that the machine is ready to start brewing. With the K-Cup pod in place and the brew size selected, the machine takes care of the rest. I can now enjoy a freshly brewed cup of coffee with the convenience of K-Cup pods. The process is quick and easy, and I can customize my coffee experience with a wide range of K-Cup flavors.
Cleaning and Maintenance Tips
Regular cleaning is crucial to extending the lifespan of my Keurig and maintaining its ability to brew great-tasting coffee. To keep my machine in top shape, I wipe down the parts regularly to prevent build-up and uphold cleanliness. I also make sure to descale my Keurig every 3-6 months with vinegar or descaling solution to prevent mineral deposits from forming and affecting its performance.
I've learned that using filtered or bottled water can help prevent mineral build-up and prolong the durability of my Keurig. However, I avoid using distilled or softened water, as it can impact the taste and performance of my coffee maker.
To ensure I'm taking the best care of my Keurig, I consult my user manual for specific cleaning instructions. By following the manufacturer's guidelines and staying on top of maintenance, I can guarantee my Keurig continues to deliver perfect cups of coffee for years to come. By incorporating these simple cleaning and maintenance tips into my routine, I'm able to enjoy my Keurig for a long time and maintain its peak performance.
Troubleshooting Common Issues
Encountering problems with my Keurig is frustrating, especially when I'm craving a perfect cup of coffee. When troubleshooting common issues, I start by checking the water reservoir level, verifying it's not too low. If my Keurig is clogged or brewing slowly, I descale the machine to remove mineral deposits that can hinder performance. Cleaning the needle regularly also helps prevent common brewing issues.
If I've checked the basics and issues persist, I consult the user manual or online forums for model-specific troubleshooting tips. Sometimes, adjusting brewing settings can resolve problems with weak coffee. However, if I'm uncertain about the issue or it's related to a warranty problem, I contact Keurig customer service for guidance.
To prevent problems from arising in the first place, I prioritize regular maintenance, including descaling and cleaning. By taking proactive steps, I can minimize downtime and guarantee my Keurig consistently produces high-quality coffee. By following these troubleshooting steps, I can usually resolve issues on my own and get back to enjoying my favorite coffee drinks. By taking care of my Keurig, I can rely on it to take care of my coffee needs.
Using Keurig K-Duo Plus Model
One of the most convenient features of the Keurig K-Duo Plus model is its ability to brew both single-serve K-Cup pods and a carafe of coffee, making it a great option for households with different brewing preferences. I can select the K-Cup pod I want to use and press the brew button for a quick and easy cup of coffee. The machine also features a water reservoir with a clear fill line, making it easy to fill and brew a carafe of coffee.
| Brewing Option | Step 1 | Step 2 |
|---|---|---|
| Single-Serve | Select K-Cup pod and place in pod holder | Press brew button |
| Carafe | Add ground coffee to filter basket | Select carafe option and press brew button |
| Carafe (with water reservoir) | Fill water reservoir to fill line | Select carafe option and press brew button |
| Single-Serve (strong brew) | Select K-Cup pod and place in pod holder | Press strong brew button |
Using my KEURIG coffee maker, I can choose from multiple brew size options and adjust the strength of my coffee to my liking. Whether I'm brewing a single cup or a full carafe, the Keurig K-Duo Plus model makes it easy and convenient.
Keurig Machine Winterization Steps
As I switch from brewing coffee to preparing my Keurig for the cold winter months, I need to take a few important steps to winterize my machine. To prevent freezing, I'll start by draining all the water from the reservoir and internal tank. My Keurig model, the K140, has a convenient draining feature that makes this process easy. If your model doesn't have this feature, you can manually empty the Keurig by pouring out the water from the reservoir and internal tank.
I'll also secure the reservoir to prevent it from refilling with water during winter storage. This is vital to prevent any water from seeping back into the machine and causing damage. Regular cleaning and maintenance are also essential to prevent mold and bacteria growth. Some people use alternative winterizing methods, such as running a mixture of vodka or alcohol through the machine, but I'll be sticking to the recommended draining method to avoid any potential damage. By following these steps, I'll be able to empty the internal tank and reservoir, ensuring my Keurig is properly winterized and ready for storage.
Community Experiences and Tips

While maximizing the potential of my Keurig coffee maker, I've found that listening to the experiences and advice from the Keurig community has been extremely valuable. As I use a Keurig daily, I've learned that community members share a wealth of knowledge on how to enhance my coffee experience. To begin, it's crucial to choose your brew size wisely to guarantee the perfect cup of coffee. I've also learned that using filtered water in the water tank can greatly impact the taste of my coffee.
Community members have shared tips on experimenting with different K-Cup flavors to discover the ideal blend. I've also realized the importance of following the user manual for troubleshooting common issues. By integrating these tips into my daily routine, I've noticed a considerable improvement in my Keurig's performance. The community's collective knowledge has been crucial in assisting me in getting the most out of my machine. I recommend exploring the community's experiences and advice to enhance your Keurig experience. By doing so, you'll be able to unleash your machine's full potential and enjoy a perfectly brewed cup of coffee every time.
Descale and Clean Your Keurig
How often do I descale and clean my Keurig? I descale my Keurig every 3-6 months to maintain top performance and prevent mineral build-up. Regular cleaning is also a must to remove dust and debris from the external parts. I use a damp cloth to wipe down my Keurig coffee maker, making sure to clean all surfaces.
To descale, I use a descaling solution or white vinegar to remove calcium deposits and scale from the internal components. I follow the manufacturer's instructions to ensure the longevity of my machine. Descaling and cleaning my Keurig is vital for producing better-tasting coffee and prolonging the life of my machine. A clean and descaled Keurig runs more efficiently and effectively, which means I get to enjoy flawless cups of coffee every time.
Advanced Keurig Features Guide
Now that I've covered the importance of descaling and cleaning my Keurig, I'm excited to explore the advanced features that take my coffee game to the next level. One of the features I appreciate is the setting for customizable brew sizes, which allows me to choose from a variety of cup sizes to suit my needs. This choice is especially convenient when I'm in a hurry or want to make a larger cup of coffee.
Another advanced feature I like is the temperature control option, which enables me to adjust the brew temperature to my liking. This feature is particularly useful when I'm making iced coffee or hot beverages. Some Keurig models also come with programmable features, such as auto-brew times, which allow me to set my coffee maker to brew a fresh cup at a specific time. Additionally, certain models have a hot water on demand feature, which is perfect for making tea, hot cocoa, or instant soup. By exploring these advanced features, I can customize my coffee experience and enjoy a perfectly brewed cup every time.
Conclusion
I've covered the essentials of using a Keurig coffee maker, from setup to maintenance. To illustrate the importance of regular cleaning, consider the case of a Keurig owner who neglected to descale their machine for months. The buildup of mineral deposits eventually clogged the brew head, requiring a costly replacement. By following the guidelines outlined in this article, you can avoid similar issues and enjoy a consistently great cup of coffee from your Keurig.