I've always been intrigued by the art of roasting coffee beans at home, and using an oven is a surprisingly simple method. To start, preheat your oven to 450°F for even roasting. Once it's ready, spread your selected green coffee beans on a baking sheet and slide it into the oven. The transformation from green to perfectly roasted is mesmerizing, but it requires close monitoring. As you listen for the cracking sounds and watch the color change, you'll find yourself excited to achieve that perfect roast level. But just how do you get there without overdoing it? Let's find out.
Preheating the Oven

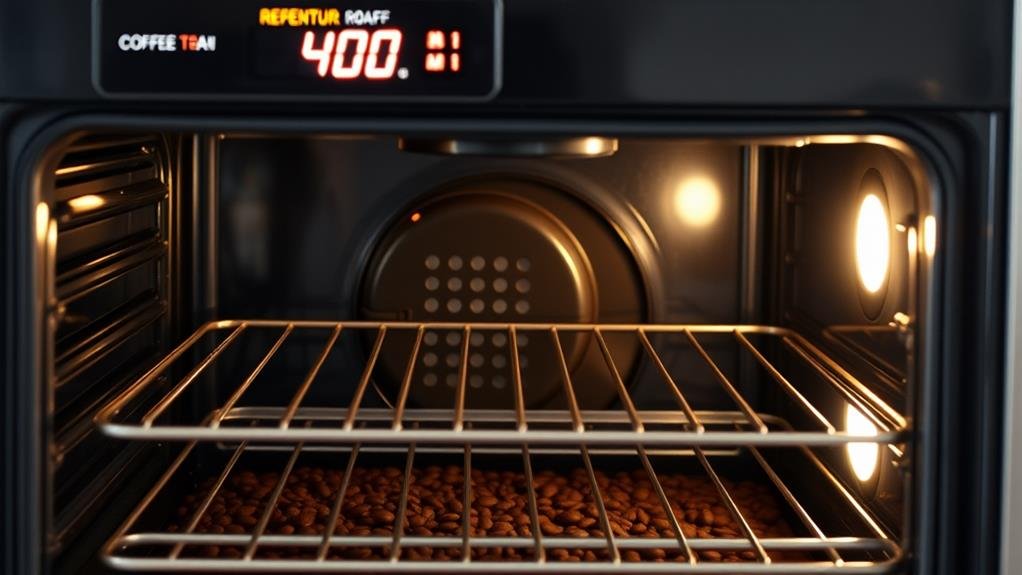
Before you start roasting your green coffee beans, preheat your oven to 450°F. This step is essential for achieving an even roast and ideal flavor development. Making sure the oven is fully preheated helps in setting the stage for a successful home coffee roasting process.
When you preheat the oven to 450°F, you are creating the perfect temperature for roasting coffee beans to your desired level. This consistent heat ensures that all beans are roasted uniformly, which is necessary for bringing out the finest flavor. If the oven is not fully preheated, some beans might be under-roasted or over-roasted, leading to an uneven taste.
Preheating also helps in avoiding any cold spots within the oven, which could impact the roasting process negatively. By taking this initial step seriously, you can ensure a more predictable and gratifying roast every time. Remember, a well-preheated oven is fundamental to achieving a flawless roast and enjoying your freshly roasted coffee. So, always make sure your oven is at the correct temperature before placing your green coffee beans inside. This simple yet significant step will make all the difference in your roasting experience.
Preparing Green Coffee Beans
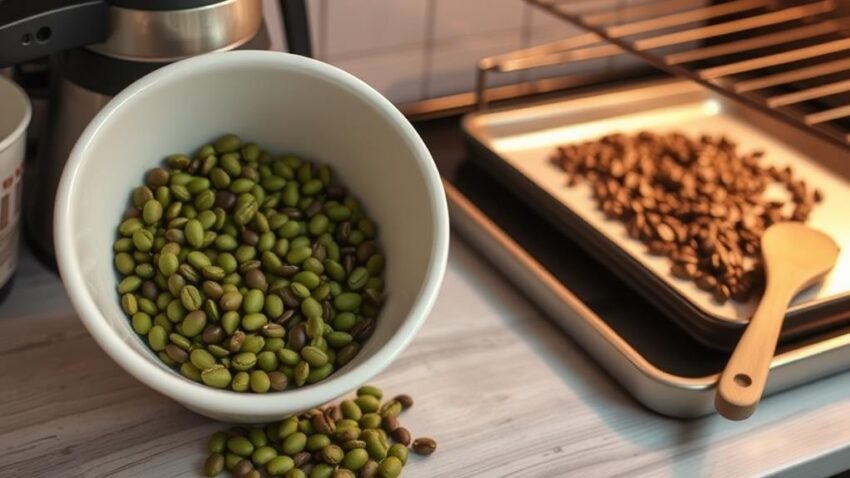
When preparing green coffee beans for roasting, I start by selecting high-quality beans that are fresh and free of any defects. Next, I spread the green coffee beans evenly on a baking sheet lined with foil to guarantee they roast uniformly. This step is important because it helps in achieving an even color and preventing some beans from burning before others are fully roasted.
Selecting Green Beans
Selecting the right green coffee beans is an important step in the roasting process. This step allows you to experiment with different flavors and origins, which is vital for finding your perfect roast. Green coffee beans can be stored for up to a year, giving you ample time to try various types.
To start, consider purchasing a Sweet Maria's Sample Set. This set includes coffees from various regions, helping you become familiar with different characteristics. Sampling different green coffee beans aids in selecting the best beans for your roasting preferences and taste preferences.
Experimenting with sample packs and varying flavor profiles can enhance your understanding of the roasting process. It helps you tailor your roasts to your liking, whether you prefer light, medium, or dark roasts. Proper storage of green coffee beans is also important for maintaining their freshness and flavor over time.
Preparing for Roast
To prepare your green coffee beans for roasting, start by preheating your oven to 450°F. This ideal temperature guarantees that your beans roast evenly and bring out the finest flavors. Once your oven is ready, spread the green coffee beans evenly on a baking sheet. This step is vital for consistent roasting, as it allows each bean to receive the same amount of heat.
As you begin the roasting process, monitor the beans closely for color changes and listen for crackling sounds. These signs indicate different stages of roasting and are necessary for achieving your desired level of roast. The loud crackling sound typically signals the first crack, indicating that the beans have reached the light roast stage.
After completing the roast, cooling the beans immediately is crucial to prevent over-roasting and maintain their flavor. Once cooled, removing chaff from the roasted beans is necessary before grinding. Chaff can impart a bitter taste and make your coffee less smooth. By following these steps diligently, you can achieve a high-quality roast that enhances your coffee experience.
Monitoring the Roast
Monitoring the roast is important for achieving perfectly roasted coffee beans. As you proceed with the roasting process in your oven, it's vital to keep a close eye on several key factors to guarantee optimal results.
First and foremost, monitor the color of the beans. Even roasting is crucial, so look for a consistent change in color across all beans. This helps prevent scorching, which can ruin the flavor of your coffee.
Another important aspect is listening for the distinct cracking sounds that indicate different roast levels. These sounds are a clear indicator of how far along the beans are in their roasting journey.
Here are three key points to remember while monitoring your roast:
- Track the Time: Guarantee the roasting process does not exceed 15 minutes.
- Stir Periodically: Stir the beans to promote uniform heating and consistent roasting.
- Use a Timer: Employ a timer to accurately track the roasting duration.
Achieving Desired Roast Levels
To achieve the desired roast levels when roasting coffee beans in the oven, you need to understand the specific temperature and time thresholds for each type. Light Roast occurs between the first and second crack, resulting in a mild flavor profile. Medium Roast happens right at the second crack, offering a balanced taste and aroma, while Dark Roast extends into the second crack for a bold and intense flavor.
Light Roast Guidelines
When aiming for a light roast, you're aiming for that perfect moment between the first and second crack. This stage is important because it yields a bright and acidic flavor profile that's ideal for showcasing the bean's origin flavors and delicate nuances.
To achieve a light roast while roasting your own coffee in the oven, there are several key points to keep in mind:
- Roasting Time: Light roasts are typically roasted for 10-12 minutes.
- Color: Aim for a light brown color with a dry surface.
- Flavor Profile: Expect higher caffeine content and fruity, floral notes.
Understanding these stages of the roast is vital as they involve specific chemical reactions that affect the final taste. The first crack occurs when the beans expand in size and make a popping sound, signaling the end of the drying stage. The second crack, which comes later, signifies a deeper roast level. Staying between these two cracks ensures you capture the essence of your coffee beans without over-roasting them.
Medium Roast Techniques
Achieving a medium roast in your oven involves precision and attention to the roasting process. To get it right, you need to listen for the distinct sounds of the first and second crack. The second crack signals that your beans have reached a medium-dark roast, offering a perfect balance of flavor and aroma.
During the roasting process, it's vital to monitor closely. Medium roasted coffee beans are slightly darker than light roasts but still lack the oily sheen of dark roasts. This stage occurs just after the second crack, so it's vital to pay attention to these auditory cues.
When roasting in your oven, aim for a roasting time between 10-15 minutes. This duration helps guarantee that you hit the medium roast level without over-roasting. Monitoring this time frame is key because it allows you to stop at exactly the right moment when you hear the second crack.
Dark Roast Achievements
After mastering the medium roast, it's time to push the roasting time further to achieve a dark roast. This level of roasting brings out a rich, bold flavor profile that many coffee enthusiasts love. When beans reach the second crack during the roasting process, you know you've achieved a dark roast.
Here are some key points to keep in mind when aiming for a dark roast:
- Enhanced Body and Aroma: Dark roasting enhances the body and aroma of your coffee, creating a bittersweet taste.
- Visible Changes: Dark roasted beans are visibly oily and have a shiny appearance due to the extended roasting times.
- Careful Timing: Over-roasting can lead to burnt flavors and a harsh, unpleasant taste, so timing is pivotal.
Roast your own coffee to experience the full depth of flavors that a dark roast offers. This level is particularly ideal for espresso brewing, providing a strong and intense coffee experience that's perfect for those who enjoy a robust cup. By carefully monitoring your roasting time and listening for that second crack, you can achieve the perfect dark roast at home.
Cooling and Storing Beans

Cooling your roasted coffee beans quickly is vital for locking in their flavors and preventing over-roasting. This step is often overlooked but is ideal for maintaining the quality of your freshly roasted coffee. After roasting, use a cooling tray, colander, or baking sheet to cool the beans efficiently. This helps to stop the roasting process immediately and prevents any further cooking that could alter the flavor profile.
Cooling and Storing Tips
| Cooling | Storing |
|---|---|
| Use a cooling tray | Store in airtight containers |
| Use a colander | Avoid direct sunlight |
| Use a baking sheet | Avoid extreme temperatures |
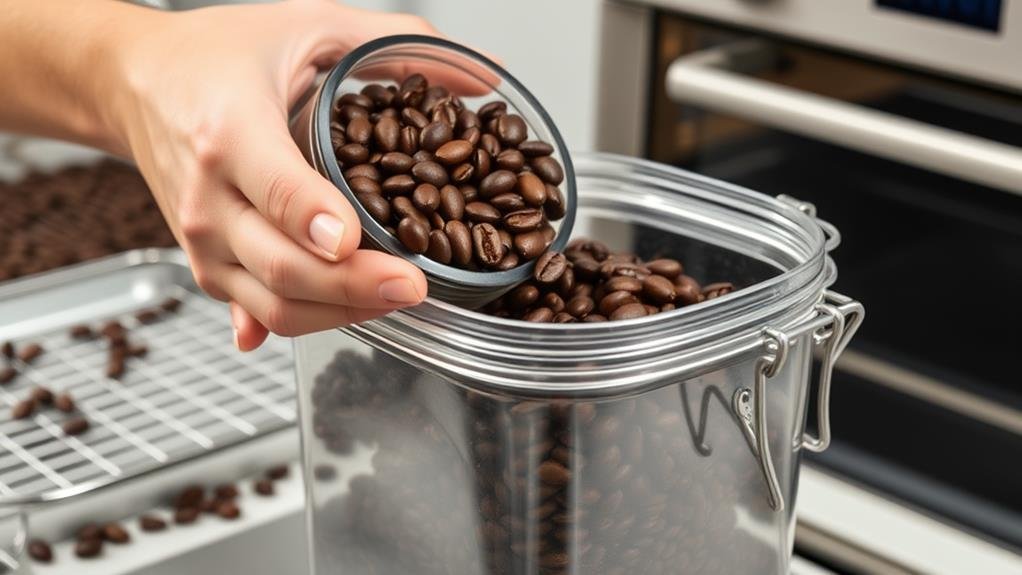
Once cooled, store your roasted beans in airtight containers to maintain freshness and preserve flavors. Properly cooled and stored beans can last up to 1-2 weeks before losing peak flavor. Avoid storing roasted beans in direct sunlight or areas with extreme temperature fluctuations, as these conditions can degrade the quality of your coffee.
Tips for Perfect Roasting
Now that you've mastered the art of cooling and storing your freshly roasted coffee beans, let's focus on perfecting the roasting process itself. Roasting coffee at home can be a rewarding experience, but it requires attention to detail to achieve a perfect roast.
To guarantee your coffee doesn't taste dull or baked, keep an eye on the roasting time. Here are some key tips:
- Roast Duration: Roasting should take no more than 12-15 minutes. Longer times can lead to baked coffee with less desirable taste.
- Temperature Adjustment: If roasting exceeds 15 minutes, adjust your oven temperature by 25°F to speed up the process.
- Freshness: Remember that coffee beans are at their best within 1-7 days post-roasting, so plan your consumption accordingly.
The method for roasting involves several stages, including an audible crack that signals the shift from light to dark roast. Using hot air circulation can help even out the roast and prevent unevenly roasted beans.
For first-time roasters, it's essential to monitor the beans closely as they progress through different roast levels. A Fresh Roast is what you're aiming for, so make sure to avoid over-roasting. With practice and patience, you'll find your ideal roast every time.
Conclusion
Roasting coffee beans in the oven is a straightforward process that yields great results. Some might worry about achieving consistent roasts, but with close monitoring and the right timing, you'll get perfect beans every time. By following these steps, you can customize your roast levels and enjoy freshly roasted coffee at home. Remember to cool and store the beans properly to maintain their flavor and aroma. Happy roasting

