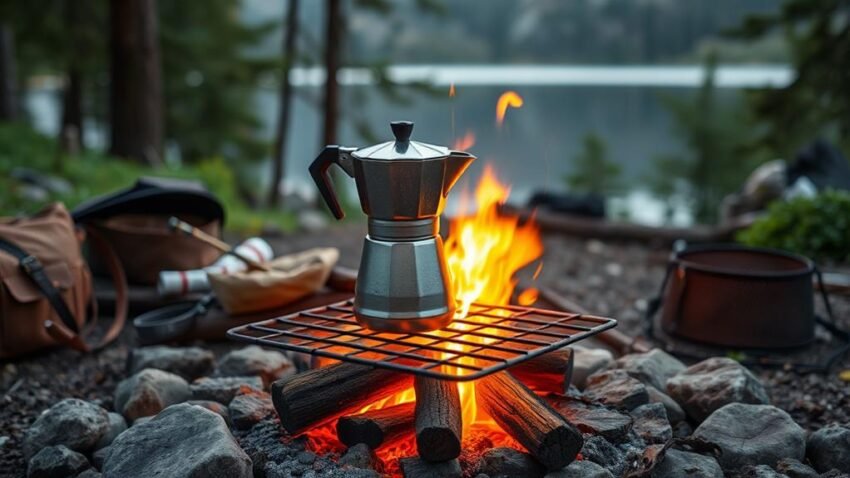
When I'm out camping, there's nothing quite like a freshly brewed cup of coffee to start the day. Making campfire coffee isn't as complicated as it sounds; in fact, it's surprisingly straightforward. It all begins with building a small, hot fire that's meant to produce bright glowing embers rather than flames. Once your fire is just right, it's time to ready your gear and get started. But before we immerse ourselves into the specifics, let me ask: have you ever enjoyed the rich flavor and invigorating aroma of coffee brewed over an open flame? If not, you're in for a treat. Let's get started on how to make the perfect cup of campfire coffee.
Building the Perfect Fire
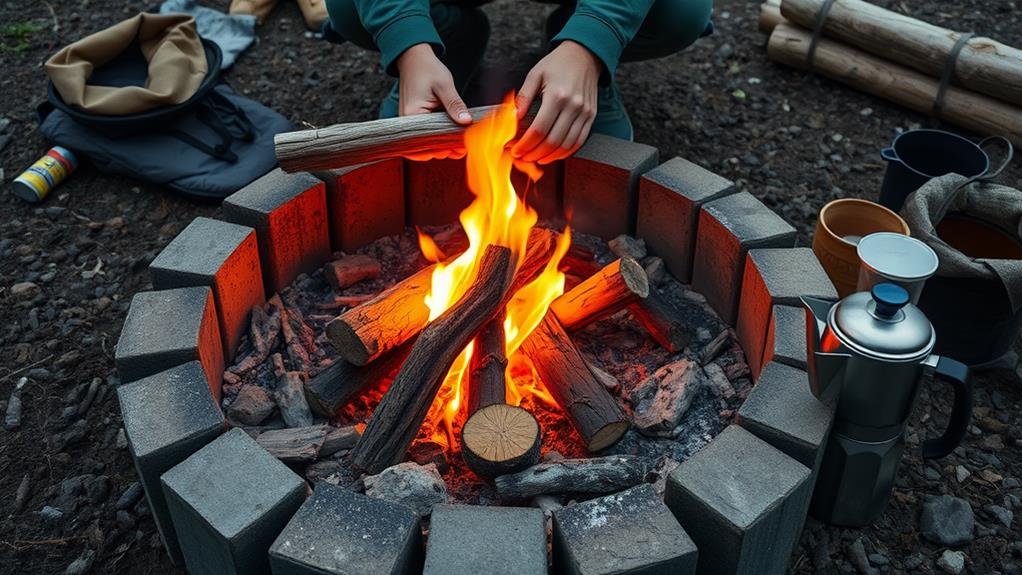
To make ideal campfire coffee, you need to build a small, hot fire with bright glowing embers. This type of fire guarantees even heating, which is essential for brewing your coffee. Start by gathering kindling and tinder to get your fire going. Once the flames are steady, allow the fire to burn for a few minutes until it starts producing bright glowing embers.
Create a circle of hot embers directly under where you'll place your coffee pot. These embers are the key to efficiently boiling the water you'll need for your coffee. Use the hottest embers to generate the necessary heat; this will help you achieve the right temperature for brewing.
Position the coffee pot over the hot embers to boil the water. Make sure that the pot is stable and balanced to avoid any accidents. The bright glowing embers will provide consistent heat, allowing you to boil the water quickly and evenly. By following these steps, you'll be able to build the perfect campfire that will help you brew a delicious cup of coffee while camping.
Preparing Your Coffee Pot
Choose a durable stainless steel campfire coffee pot for your outdoor adventure. This material is ideal because it withstands high temperatures and resists corrosion, guaranteeing your coffee pot remains in good condition over multiple uses.
To begin brewing, measure the water accurately using the markings inside the coffee pot. Precision in water measurement is essential for achieving a balanced brew. Add 2 tablespoons of ground coffee per 8 ounces of water; this ratio helps secure that your campfire coffee is neither too weak nor too strong.
Next, place the coffee pot over hot coals to achieve even heating and brewing. Positioning it directly over the coals ensures that the water heats uniformly, extracting the best amount of flavor from the ground coffee.
Adding Coffee Grounds
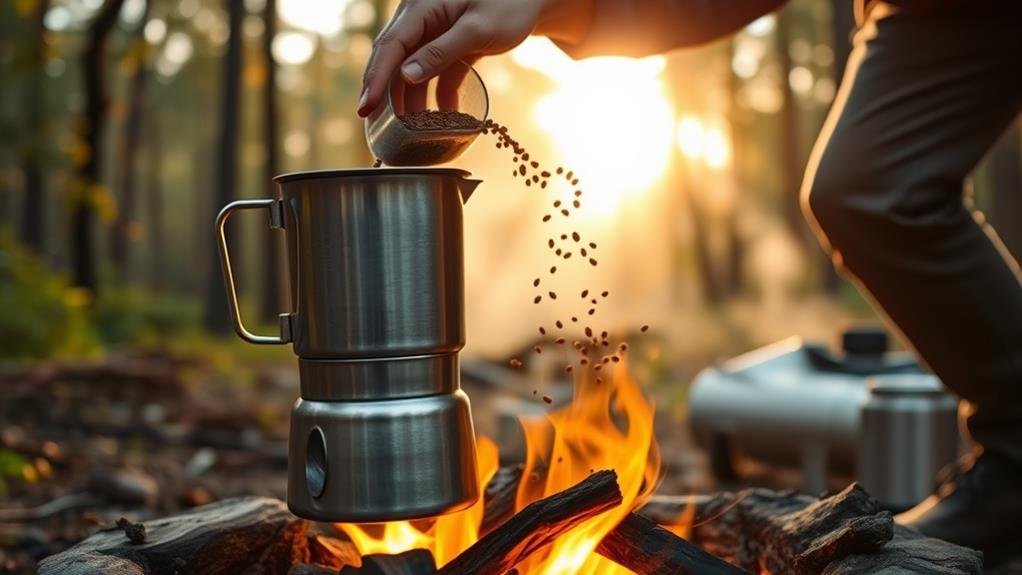
When adding coffee grounds to your campfire coffee pot, it's essential to get the ratio right. I aim for about 2 tablespoons of coarsely ground coffee per 8 ounces of water for a robust flavor. Choosing the right grind and adding the grounds carefully guarantee even extraction and a smooth taste.
Optimal Coffee Ratio
For traditional campfire coffee, I use 6 teaspoons of ground coffee for every 3 pints of water. This ratio can be adjusted based on your personal preference for the strength of your brew. Here are some key points to keep in mind when finding your best coffee ratio:
- Start with a moderate amount: Adding too much coffee can result in a bitter brew, so it's best to begin with a moderate amount and adjust from there.
- Use a coarser grind: Coarser ground coffee is recommended to prevent grounds from ending up in your cup.
- Experiment with different ratios: Don't hesitate to try different coffee-to-water ratios until you find the perfect balance for your taste.
- Adjust based on strength preference: If you prefer a stronger campfire coffee, you may want to add more coffee grounds; if you prefer it milder, use less.
Remember that the ideal ratio will vary from person to person. By adjusting the amount of coffee grounds and using a coarser grind, you can ensure that your campfire coffee is both flavorful and free of grounds in your cup. Experimenting with different ratios will help you find the perfect balance for your taste.
Choosing the Right Grind
To guarantee your campfire coffee is tasty and free of grounds, using the right grind is necessary. For campfire coffee, a coarser grind is preferable to prevent the grounds from seeping into the brew. This coarser grind confirms that the coffee grounds settle at the bottom of the pot, making it easier to pour without getting a mouthful of coffee grounds.
When selecting your grind, remember to use about 2 tablespoons of coarsely ground coffee per 8 ounces of water. This ratio helps achieve a flavorful cup without any gritty texture. Avoid using finely ground coffee, as it can lead to an unpleasant texture in your campfire coffee.
Opting for high-quality, freshly ground coffee beans will also enhance the flavor of your brew. Freshly ground beans are essential because they retain more of their natural oils and flavors compared to pre-ground coffee. By selecting the right grind and using high-quality beans, you'll be able to enjoy a truly satisfying and tasty cup of campfire coffee. This simple yet effective approach ensures every sip is enjoyable and free from unwanted coffee grounds.
Adding Grounds to Pot
Measure out your coarsely ground coffee with precision, guaranteeing you get the right amount for your desired strength. When making campfire coffee, the quality of the brew heavily depends on how accurately you measure and add the coffee grounds.
Here are some key steps to follow when adding grounds to your pot:
- Measure Coffee Grounds: Make sure you use the right amount based on your preference for strength. Too little and it's too weak; too much and it's too strong.
- Prevent Seepage: Use coarsely ground coffee to prevent grounds from seeping through the filter or perforations of your percolator coffee pot.
- Adjust to Taste: Modify the amount of coffee grounds to suit your taste for a richer or milder brew.
- Ensure Even Distribution: Stir the grounds into the hot water for even distribution and extraction of flavors.
For cowboy coffee or any brewing method over a campfire, allow the coffee grounds to steep for the recommended time to achieve the desired strength. This will guarantee you get freshly brewed coffee that meets your expectations. By following these steps, you'll be able to enjoy a perfect cup of campfire coffee every time.
Brewing Your Coffee
To brew your coffee, start by setting up a hot fire to boil the water in your camping coffee pot. Once the water is boiling, remove the pot from the fire and let the coffee grounds steep for about 5 minutes. After steeping, carefully skim off any grounds and froth from the surface before serving.
Fire Setup
When it's time to brew your coffee, start by building a small, hot fire. This initial step is essential for creating the perfect conditions for your campfire coffee.
To set up your fire effectively, follow these steps:
- Build a small, hot fire: Let it burn for a few minutes to create a bed of hot coals.
- Gather glowing embers: Collect the brightest glowing embers into a small circle directly under the coffee pot to ensure efficient heat transfer.
- Position the coffee pot: Place the coffee pot over the hot embers, allowing the heat to rise directly into the pot for boiling water.
- Boil the water: Use the hot embers to boil the water in the pot before adding coffee grounds for brewing.
Make sure that your coffee pot is stable and secure over the hot embers to prevent accidents while making campfire coffee. By following these steps, you'll have a well-set fire setup that will help you achieve ideal brewing results. The key is in creating a concentrated source of heat—those hot embers will be your best friend in boiling water and brewing a great cup of coffee out in the wilderness.
Brewing Process
As the heat from the embers transforms into a rolling boil, it's time to add the coffee grounds to your pot. This is where the brewing process really begins. Carefully pour the coffee grounds into the boiling water, making sure not to spill any. Let it steep for a few minutes, allowing the flavors to meld together. This step is pivotal in ensuring that your campfire coffee is rich and full-bodied.
Once the steeping process is complete, skim off any grounds or froth that have risen to the surface of the coffee. This helps in achieving a smoother taste without any unwanted sediment. To settle any remaining grounds at the bottom of the pot, pour in some cold water. This will help them sink down, making it easier to pour your coffee without disturbing them.
Grounds Removal
Removing the coffee grounds from your brew is an essential step in guaranteeing that your campfire coffee tastes smooth and enjoyable. To achieve this, follow these simple steps:
- Skim the Surface: Use large spoons to skim the surface of the coffee, effectively eliminating grounds and froth. This aids in getting rid of the bitter parts that can spoil your coffee experience.
- Add Cold Water: If there are still grounds floating, add a small amount of cold water to the coffee. This helps submerge the grounds, making them easier to remove.
- Gentle Pouring: Carefully pour the skimmed coffee into mugs, taking care not to disturb the settled grounds. This guarantees that you don't end up with a mug full of gritty coffee.
- Serve Smoothly: Serving coffee with minimized grounds enhances the overall enjoyment of the brew. Make sure to pour slowly and carefully to keep those annoying grounds at the bottom of your pot.
Removing Coffee Grounds
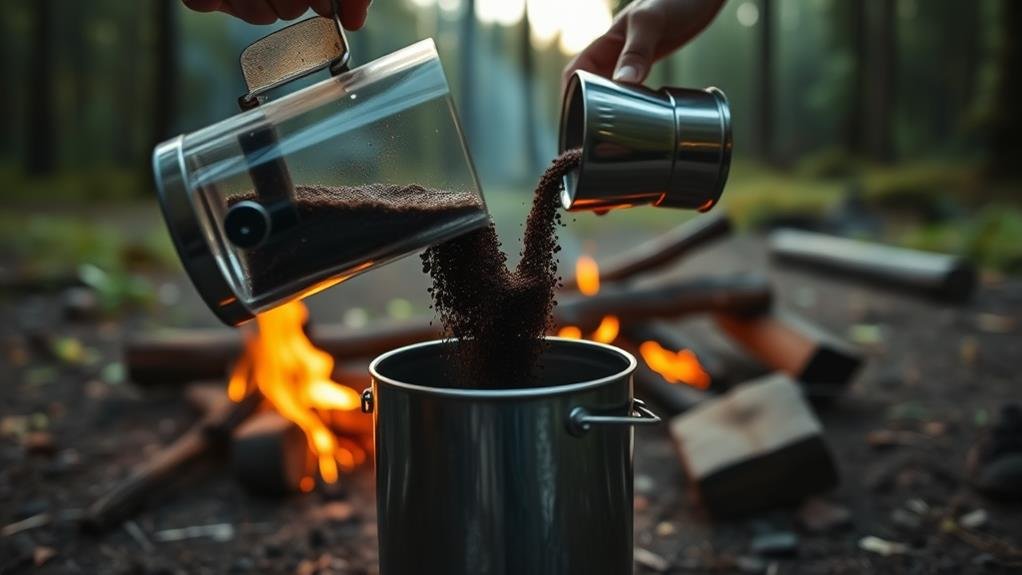
With my campfire coffee brewed to perfection, the next step is to remove the coffee grounds. This process is essential for a smoother drinking experience.
Removing Coffee Grounds
To effectively remove the grounds, I follow these steps:
- Skim the Surface: Use large spoons to skim the surface of the coffee, removing any visible grounds and froth.
- Add Cold Water: Add a small amount of cold water to help sink the grounds before pouring.
- Pour Carefully: Gently pour the coffee into mugs, being careful not to disturb the settled grounds at the bottom.
| Step | Action | Result |
|---|---|---|
| Skim | Use spoons to eliminate grounds and froth | Cleaner surface |
| Add Water | Add cold water to submerge grounds | Easier pouring |
| Pour | Pour carefully to prevent stirring grounds | Smoother coffee |
Serving and Enjoying
Now that my campfire coffee is brewed and the grounds are removed, it's time to enjoy the fruits of my labor. Serving and enjoying campfire coffee is a simple yet satisfying process.
To guarantee your coffee is smooth and free from unwanted grounds, follow these steps:
- Skim the Surface: Before pouring the coffee into mugs, skim the surface to eliminate any remaining grounds or froth.
- Add Cold Water: Adding a small amount of cold water helps settle the grounds at the bottom of the container, making it easier to pour without disturbing them.
- Gentle Pouring: Pour the coffee into mugs gently to prevent stirring up the settled grounds.
- Serve and Enjoy: Serve the coffee with minimal grounds to heighten your overall enjoyment of the drink.
Conclusion
Making campfire coffee is as simple as it is satisfying. While modern coffee makers can brew a perfect cup with the touch of a button, nothing beats the rustic charm of sipping coffee under the stars. With just a few steps—building a hot fire, measuring your water and coffee, and skimming off the grounds—you can enjoy a smooth, rich brew that's worlds apart from your daily grind. The effort is minimal, but the reward is immense.
