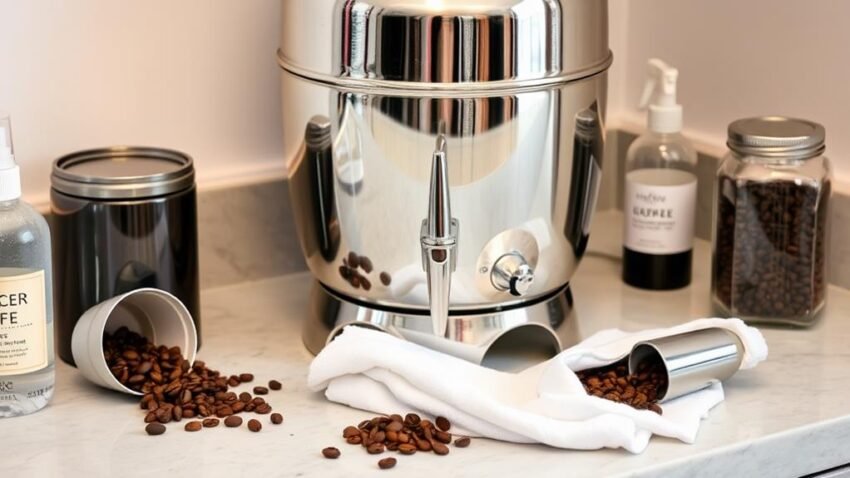
I start by unplugging and cooling down my coffee urn to prevent any accidental starts or injuries. Next, I wash the removable parts by hand or in the dishwasher to remove any loose debris. I scrub the tank with warm water and mild detergent, then wipe down the exterior to prevent dust buildup. For tougher stains, I create a paste with cream of tartar and water, apply it to the stains, and soak before scrubbing and rinsing. By following these steps, I keep my coffee urn in good condition, but there's more to maintaining its performance and longevity.
Basic Coffee Urn Cleaning Routine
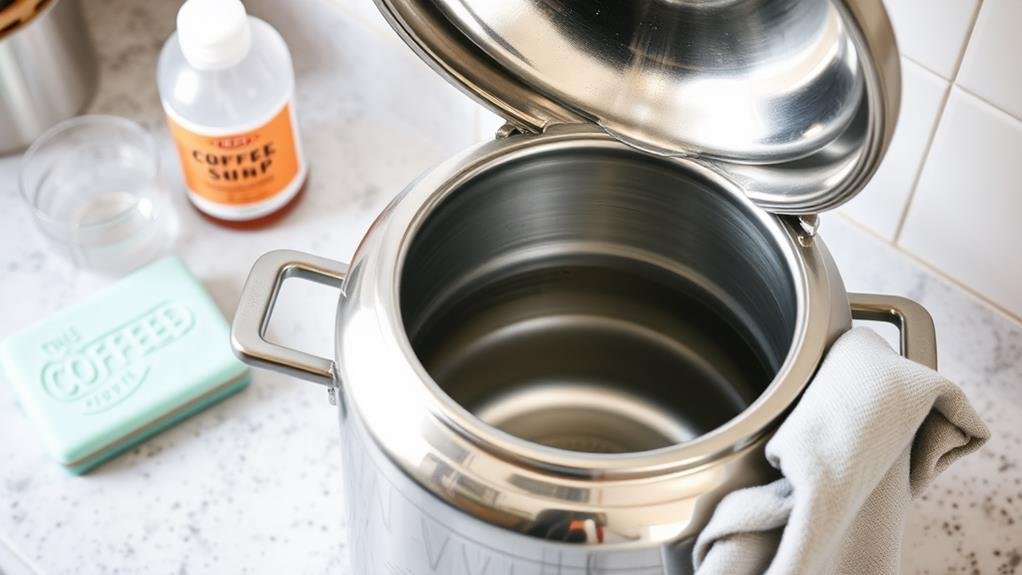
My coffee urn cleaning routine starts with an important step: unplugging the machine and letting it cool down completely. This guarantees my safety while cleaning and prevents any accidental start-ups. Once cooled, I focus on the removable parts – the basket and stem. I wash them by hand or in the dishwasher to remove any stubborn coffee residue. This step is vital in preventing old coffee oils from affecting the taste of my future brews.
Next, I tackle the water tank. I fill it with warm water and add a small amount of dishwashing detergent. I scrub the tank thoroughly to remove any mineral deposits and bacteria that may have accumulated. After rinsing the tank extensively to eliminate any soap residue, I move on to wiping down the exterior of my coffee urn. This not only maintains its appearance but also prevents dust and splatters from building up and creating a mess. By following this basic cleaning routine, I'm able to keep my coffee urn in top condition and guarantee it continues to brew great-tasting coffee. Regular cleaning also helps prevent any bacterial growth, keeping my coffee safe to drink.
How to Descale Your Urn
Now that the basic cleaning routine is done, it's time to address a more specific issue that can impact the performance of your coffee urn: mineral buildup. Mineral deposits can develop when hard water flows through the urn, causing scaling and accumulation. To eliminate these deposits, I use a descaling mixture of white vinegar or lemon juice in a 1:1 proportion.
| Descaling Solution | Ratio |
|---|---|
| White Vinegar | 1:1 with water |
| Lemon Juice | 1:1 with water |
| Recommended Soaking Time | 15 minutes |
| Recommended Brewing Cycle | Full cycle |
I pour the descaling solution into the urn and let it soak for at least 15 minutes to make sure thorough cleaning. Then, I run a full brewing cycle to assist in breaking down limescale and buildup. After descaling, I drain the urn through the serving spigot to remove the loosened deposits. Regular descaling is essential to maintaining the efficiency and longevity of your coffee urn, especially in areas with hard water. By incorporating descaling into your cleaning routine, you can prevent mineral buildup and keep your coffee urn in top condition.
Removing Tough Coffee Stains
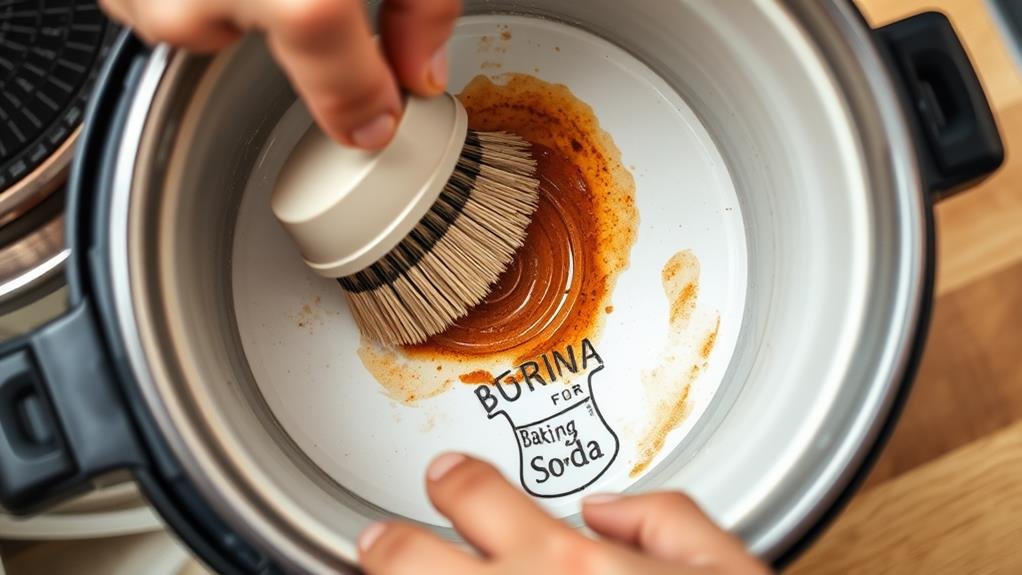
When it comes to removing tough coffee stains from your urn, the key is to identify the source of the problem: ground coffee particles that can leave behind stubborn discoloration. I've found that these particles can be notoriously difficult to remove, but there's a simple solution. To tackle tough stains, I mix a small amount of cream of tartar with water to create a paste, which I then apply directly to the stained area. This anti-discoloration mixture helps break down the particles, making it easier to remove the stain.
For particularly stubborn stains, I recommend soaking the coffee urn in the cream of tartar mixture for a few hours or overnight. This allows the mixture to penetrate deep into the stain, making it easier to remove. After soaking, I scrub the area with a gentle cleaning powder and rinse thoroughly. By following this process, I'm able to remove even the toughest coffee stains from my coffee urns, leaving them looking like new. Regular cleaning and maintenance can help prevent future stains, but it's good to know that this method is effective in case tough stains do appear.
Essential Cleaning and Maintenance Tips
As I explore significant cleaning and maintenance tips for coffee urns, I want to emphasize that a daily cleaning routine is crucial to prevent residue buildup. Just like my Espresso Machine at home, I make sure to clean the parts that come into contact with coffee every day. I use mild soap and water to wipe down the exterior and interior surfaces, paying extra attention to areas around the brew basket and grinds container.
To keep my coffee urn in top condition, I also descale it regularly using vinegar or lemon juice. This helps eliminate mineral deposits that can impact the taste of my coffee and the urn's performance. I avoid using strong chemicals like bleach, as they can harm the equipment or leave residues that might contaminate my coffee. By following the manufacturer's cleaning instructions and recommended schedule, I can prolong the lifespan of my coffee urn and maintain a clean brewing environment. This way, I can enjoy delicious coffee every time, without worrying about equipment failure or bacterial growth.
Preventing Mineral Buildup and Scaling
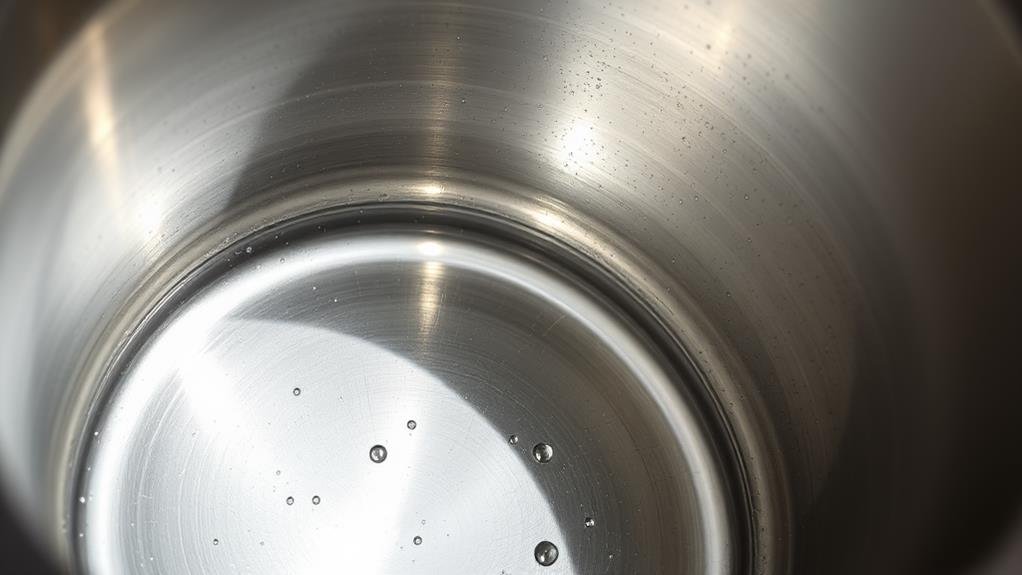
I've learned that daily cleaning and regular maintenance are just the beginning of keeping my coffee urn in top shape. To prevent mineral buildup and scaling, I need to take extra steps. Hard water can cause mineral deposits to form in my coffee urn, affecting the taste of my coffee and the efficiency of my machine. That's why I make it a point to descale my coffee urn regularly using a solution of vinegar or lemon juice. This helps prevent mineral deposits from forming and keeps my coffee urn running smoothly.
Using filtered water is also a great way to prevent mineral buildup and scaling. I've started using a water filter to reduce the mineral content of my water, and it's made a big difference. I no longer have to descale my coffee urn as often, and my coffee tastes better than ever. Descaling is an essential part of maintaining my coffee urn's performance and longevity. By preventing mineral deposits, I can ensure that my coffee urn continues to function properly and lasts for a long time. Regular descaling and using filtered water are simple steps that can make a big difference in the life of my coffee urn.
Recommended Cleaning Products and Tools
Certain cleaning products can make all the difference in maintaining my coffee urn's performance. I've found that using a high-quality cleaning product, such as Urnex Urn & Brewer Cleaner, is essential in removing coffee oils and residue that can affect the taste of my coffee. This blue-dyed cleaning powder is specifically designed to target tough coffee grounds and stains, making it easy to keep my coffee urn in top condition.
I appreciate that the cleaning powder comes in single-use packets, making it convenient to use and ensuring I'm using the right amount every time. Plus, it's organically listed by the Organic Materials Review Institute and NSF-Certified for safety, giving me peace of mind. To use, I simply pour the packet contents into my coffee urn, add hot water, scrub, and rinse. It's a straightforward process that yields impressive results. By using a reliable cleaning product like Urnex Urn & Brewer Cleaner, I can rest assured that my coffee urn is clean and free of any residual flavors that might impact the taste of my coffee.
Descaling and Cleaning Techniques
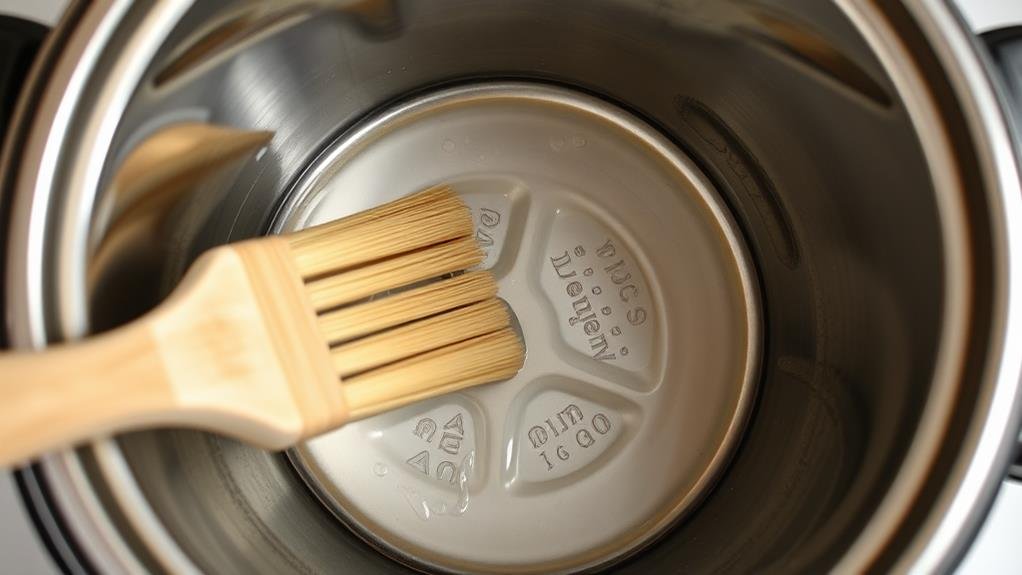
My coffee urn's performance relies heavily on regular descaling and cleaning. Mineral buildup can slow down my coffee maker and even clog the percolator with the stem, so I make certain to descale it every few months. To do this, I mix a descaling solution of vinegar or lemon juice with water and pour it into the urn. I let it soak for at least 15 minutes to break down the deposits.
| Descaling Method | Soaking Time | Recommended Frequency |
|---|---|---|
| Vinegar Solution | 15-30 minutes | Every 3-6 months |
| Lemon Juice Solution | 15-30 minutes | Every 3-6 months |
| Descaling Chemicals | Follow manufacturer's instructions | Varies |
| Water and Baking Soda | 30 minutes to 1 hour | Every 1-3 months |
After descaling, I thoroughly clean the urn to remove any remaining descaling solution. This guarantees my coffee tastes fresh and clean. Regular descaling helps maintain the efficiency and lifespan of my coffee urn. The frequency of descaling depends on the hardness of the water in my area, so I check my water quality regularly to determine the best schedule for my coffee urn.
Avoiding Common Cleaning Mistakes
When it comes to cleaning a coffee urn, there are several common mistakes that can damage the equipment and affect the taste of the coffee. I've learned that using bleach or strong soaps is a big no-no, as it can harm the stainless steel components and other materials. Instead, I stick to mild soaps and follow the recommended cleaning methods outlined in the user manual. To thoroughly clean the internal components, I make sure to run the perk cycle during cleaning. This helps to remove any residue and buildup that can impact the taste of the coffee.
Another mistake to avoid is submerging the coffee urn in water. This can damage the electrical components and cause malfunctions. I also wash the parts of the coffee urn after each use to prevent residue buildup and maintain peak brewing conditions. By avoiding these common mistakes, I'm able to keep my coffee urn in good working order and optimize that my coffee always tastes its finest. Remember, a clean coffee urn is essential for great-tasting coffee, so take the time to do it right. Don't use bleach or strong soaps, and thoroughly clean the internal components to keep your coffee urn running smoothly.
Maintaining Your Coffee Urn's Performance
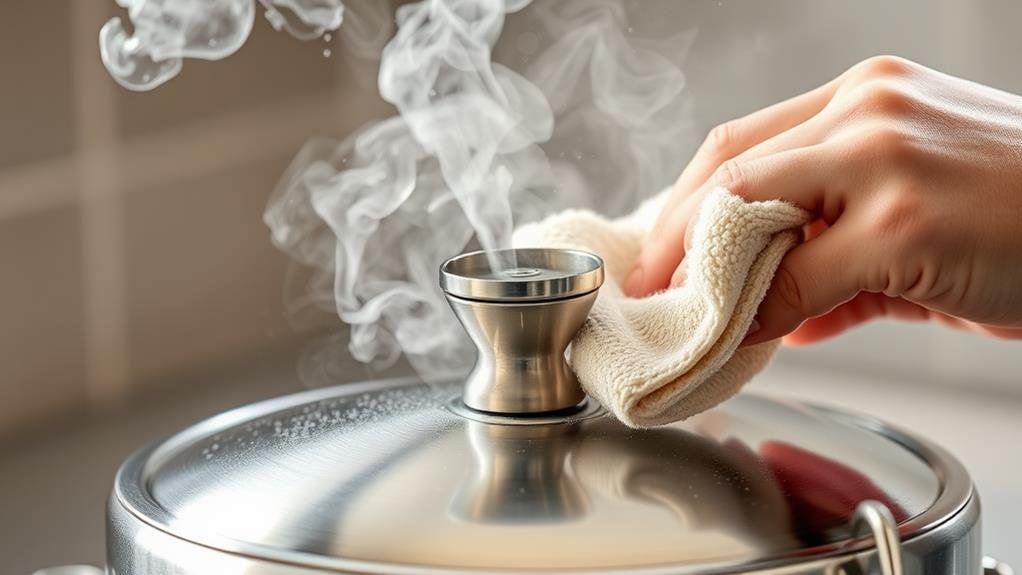
Peak performance is the ultimate goal for any coffee urn owner, and regular maintenance is key to achieving it. To keep my coffee urn running at its best, I prioritize a consistent cleaning and descaling schedule. I've found that regular maintenance not only guarantees ideal brewing conditions but also reduces the risk of equipment failure.
Here are some tips I follow to maintain my coffee urn's performance:
- Clean the urn daily to prevent old coffee oils from building up and affecting the taste of my coffee.
- Descale the urn quarterly using a mixture of white vinegar or lemon juice to remove mineral deposits and scale buildup.
- Inspect the urn for wear and tear quarterly and schedule professional maintenance annually to secure its longevity.
- Follow a recommended cleaning schedule, including daily, weekly, monthly, and quarterly tasks, to keep my coffee urn in top-notch condition.
- By staying on top of maintenance, I can extend the lifespan of my coffee urn up to 25 years and enjoy perfectly brewed coffee every time.
Conclusion
Cleaning my coffee urn is a breeze now that I've mastered the basics. Like a well-oiled machine, my urn hums along, brewing perfect cups every time. By following the simple steps outlined above, I've banished tough stains, mineral buildup, and scaling. With regular descaling and cleaning, my urn performs flawlessly. I've learned to avoid common mistakes and use the right products and techniques to keep my coffee urn in top shape.

