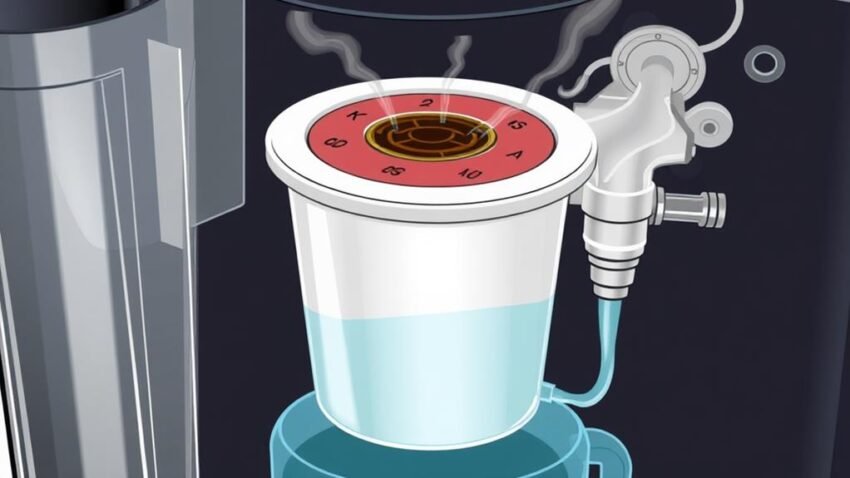
I'll break down how a Keurig coffee maker works: it uses a combination of pressurized hot water and a single-serving K-cup to brew a customized cup of coffee. The process starts with the water reservoir, which stores water that's heated and pressurized to flow through the K-cup. The coffee grounds are extracted, and the brewed coffee drips into your cup. The Keurig's components, including the pump system, heating element, and control panel, work together to make this process happen. To get the most out of your Keurig, understanding its inner workings is just the beginning of optimizing your brewing experience.
Keurig Coffee Maker Components
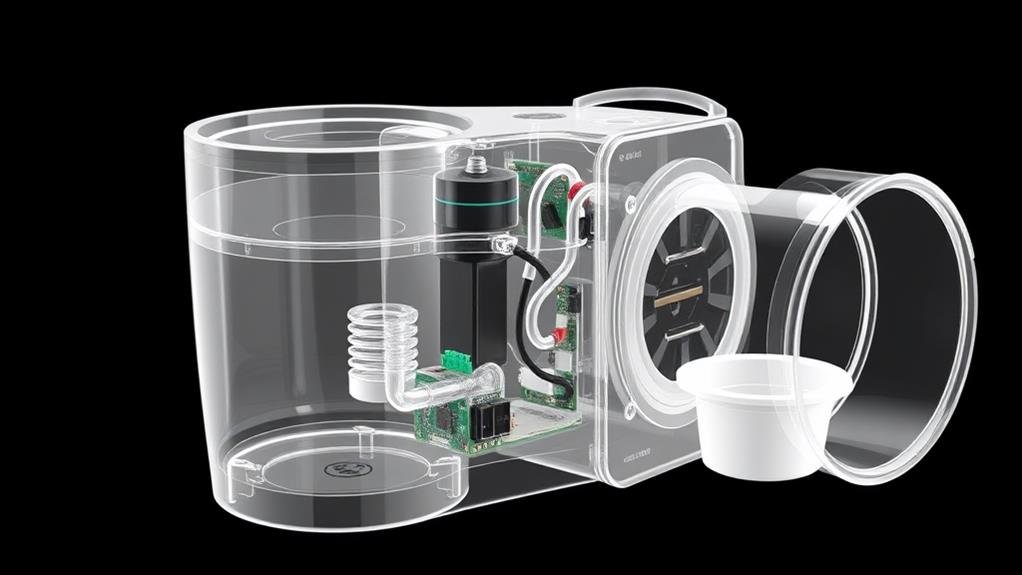
As I explore the inner workings of a Keurig coffee maker, I'm going to start by breaking down its main components. The Keurig machine consists of several important parts that work together to deliver a freshly brewed cup of coffee. First, there's the water tank, which stores the water used for brewing. This tank is typically removable, making it easy to refill and clean. Next, I have the K-cup chamber, where I insert the coffee pods. Small pins inside this chamber pierce the K-cups, allowing water to flow through and extract the flavors during brewing.
The pressurized hoses play a key role in forcing the water through the K-cup, ensuring a precise and consistent flow rate. The control panel is another essential component, featuring various buttons and settings that allow me to select different cup sizes, brew strengths, and initiate the brewing process. This panel is user-friendly, making it easy to navigate and customize my coffee experience. By understanding these main components, I can better appreciate the intricacies of the Keurig machine and how it produces a delicious cup of coffee every time.
How Keurig Brewers Work
With the main components of a Keurig coffee maker in mind, I can now explore the brewing process itself. Keurig machines utilize a water and air pump system for pressurized brewing, pushing water through each K-cup to speed up the process. This allows for quick single-serve brewing, with each K-cup containing 8-12 grams of coffee.
| Brewing Process | Result |
|---|---|
| Pressurized water flows through K-cup | Fast brewing time |
| Coffee grounds are finely ground | Bitter flavors are extracted |
| Lower brewing temperature (192°F) | Sweeter flavors are inhibited |
| Quick brewing process | Mimics a fresh pot of coffee |
The Keurig's brewing process is designed to deliver a rapid and convenient cup of coffee. However, this speed comes at a cost. The finely ground coffee and lower brewing temperature can result in bitter flavors being extracted, while sweeter flavors are left behind. Additionally, the quick brewing process can lead to stale, oxidized coffee in K-cups. Despite these limitations, the Keurig machine remains a popular choice for those seeking a fast and easy cup of coffee.
Challenges With Keurig Brewing
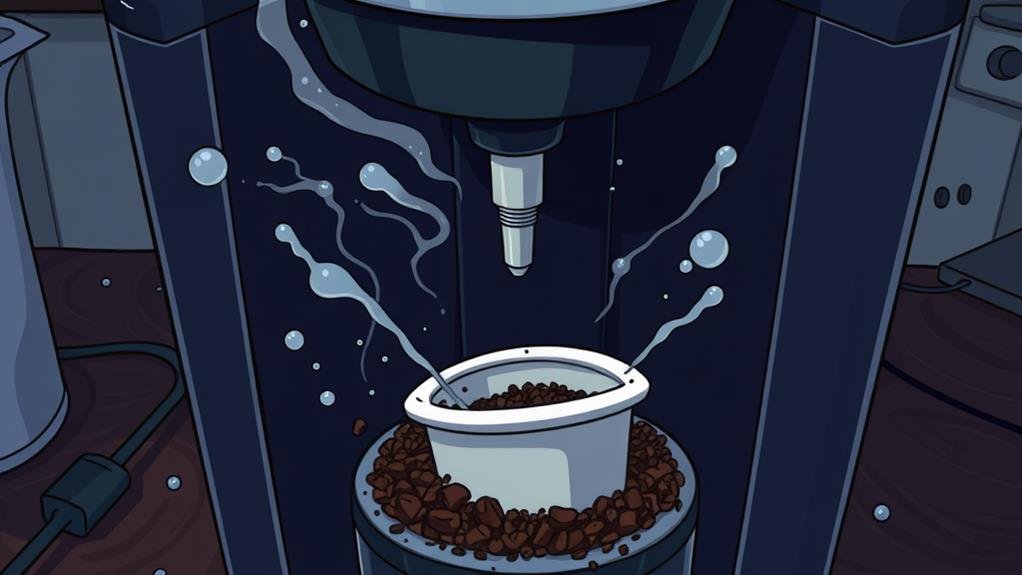
I've examined the Keurig's brewing process, and now I'm exploring the flip side: the challenges that come with it. As I investigate the world of Keurig Coffee, I've found some limitations that affect the overall taste and quality of the brew. One major issue is the small amount of ground coffee in each K-cup, typically between 8-12 grams. This can lead to weak brews, which might not satisfy coffee lovers who desire a richer flavor.
Another challenge is the overextraction of grounds, which can result in bitter flavors due to the finely ground coffee in K-cups. Additionally, Keurig brewers often operate at lower brewing temperatures, around 192°F, which hinders the extraction of caramelized sugars and impacts the sweetness of the coffee. In addition, the use of stale and oxidized roasted coffee in K-cups contributes to flavor quality concerns. To conclude, the environmental impact of K-cups cannot be ignored, as the plastics used are not effectively recycled, raising concerns about waste generation. These challenges highlight some of the drawbacks of Brewing Coffee with a Keurig, especially when using K-cups. By understanding these limitations, I can better appreciate the complexities of Keurig brewing.
Keurig Coffee Maker Maintenance
Maintaining my Keurig coffee maker is vital to its performance and longevity. To keep my Keurig Machines in top shape, I prioritize descaling every 3-6 months using vinegar or a descaling solution. This prevents mineral buildup, which can damage the machine over time. Regular cleaning is also important, so I wipe down parts and run clean water through the machine before brewing.
| Keurig Maintenance | Why It Matters |
|---|---|
| Descale every 3-6 months | Prevents mineral buildup, ensuring peak performance |
| Regular cleaning | Removes residue, maintains water quality and taste |
| Use filtered or bottled water | Prevents clogging, prolongs machine life |
| Avoid distilled or softened water | Maintains brewing efficiency and flavor quality |
Proper water quality is also crucial for my Keurig system. I use filtered or bottled water to prevent clogging and prolong the machine's life. I also avoid using distilled or softened water, as it can affect the taste and brewing efficiency. By following these maintenance tips and checking my user manual for specific instructions, I can guarantee my Keurig coffee maker continues to perform at its best and provide great-tasting coffee for years to come.
Benefits of Keurig Single-Cup
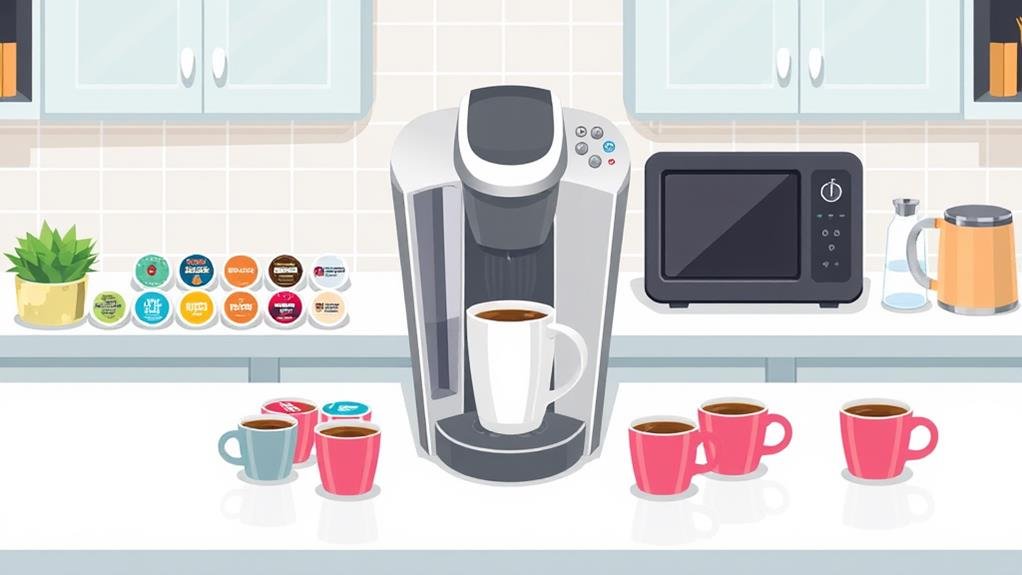
One of the key advantages I appreciate about my Keurig coffee maker is its single-cup system, which allows for quick and customized brewing for each user. I can choose from a variety of coffees, including dark roast, light roast, flavored, and decaf options. This means I can cater to different tastes and preferences, whether I'm brewing for myself or for guests. The single-cup system also provides a mess-free experience, eliminating leftover waste and simplifying the coffee-making process.
I find the quick brewing feature particularly convenient, especially on busy mornings when I need a fast and reliable way to get my coffee fix. The customized options also allow me to experiment with different flavors and blends, which keeps my coffee routine interesting and varied. With Keurig's single-cup system, I can enjoy a freshly brewed cup of coffee without the hassle of measuring coffee grounds or cleaning up spills. Overall, the benefits of Keurig's single-cup system make it an ideal choice for anyone looking for a convenient and customizable coffee-making experience.
Keurig Coffee Maker Setup
Now that I've highlighted the benefits of Keurig's single-cup system, it's time to explore how to get started with my Keurig coffee maker. To set up my Keurig, I'll need to follow a few simple steps.
First, I plug the Keurig into a grounded outlet and fill the removable water reservoir with water. This guarantees that the machine has enough water to brew my coffee.
Here are the next three steps to complete the setup:
- Press the power button: I press the power button to start heating the water inside the Keurig machine.
- Run a cleaning brew cycle: I run a cleaning brew cycle without a K-Cup to make sure the system is ready for use.
- Prepare the drip tray and K-Cup: I place my mug on the drip tray, insert a K-Cup with the foil side up, and close the lid securely.
Once I've completed these steps, my Keurig coffee maker is ready to use. The display will show a "Ready to Brew" message, indicating that I can start the brewing process.
Keurig Brewing Process Explained
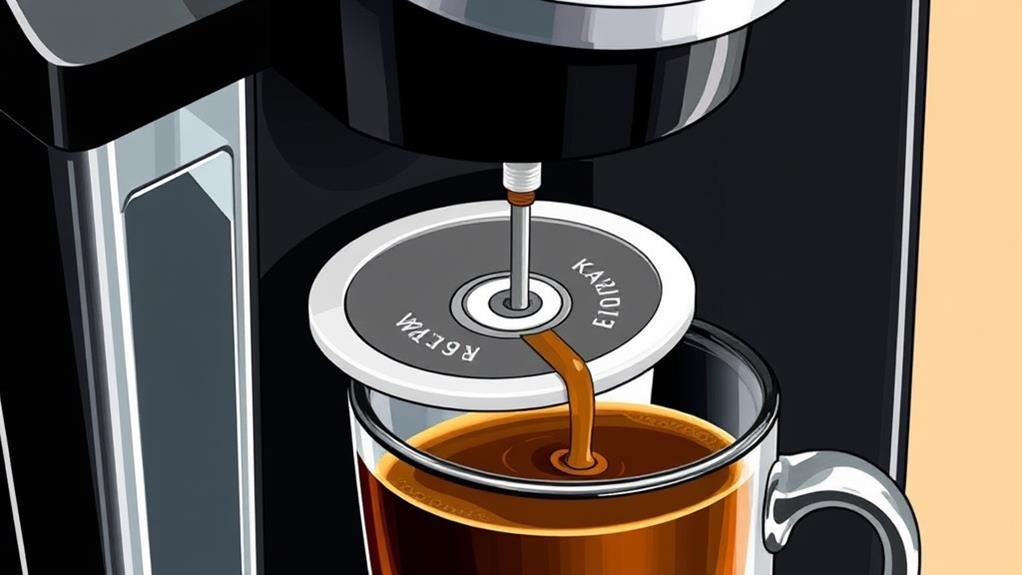
With my Keurig coffee maker set up and ready to go, I can start exploring the brewing process that makes it all work. When I press the brew button, the machine springs into action, using a water and air pump to force hot water through the K-Cup. This is where the magic happens – the K-Cup serves as both packaging and brewing chamber, with the coffee grounds contained within a paper filter. The Keurig system brews coffee at a scorching 192°F, which can result in a more bitter taste compared to other brewing methods. The quick brew time may also inhibit the extraction of sweeter flavors from the coffee grounds. As a result, Keurig coffee may taste stale or bitter due to the finely ground coffee in K-Cups and low brewing temperatures. Despite this, the convenience and speed of the Keurig brewing process make it a popular choice for many coffee lovers. By understanding how the brewing process works, I can better appreciate the complexities of my Keurig coffee maker and the coffee it produces.
Troubleshooting Common Keurig Issues
Facing a malfunctioning Keurig coffee maker can be frustrating, especially when I'm in dire need of a morning caffeine boost. To get my Keurig up and running, I've learned to troubleshoot common issues that affect various Keurig models. Whether it's slow brewing, inconsistent cup sizes, or leaking water, I've identified the most common problems and their solutions.
Here are three common Keurig issues I've encountered:
- Clogged Needle: Mineral buildup or debris can clog the needle that punctures the K-Cup, hindering water flow. Cleaning or replacing the needle usually resolves the issue.
- Slow Brewing: If my Keurig is brewing slowly or not completing the brewing process, I check for mineral buildup in the machine. Descaling the Keurig usually solves the problem.
- Leaking Water: If my Keurig is leaking water or coffee, I inspect the seals and components for damage or looseness. Tightening loose parts or replacing damaged seals typically fixes the issue.
Conclusion
As I wrap up the inner workings of a Keurig coffee maker, I'm reminded of a symphony – each component harmonizing to produce the perfect cup. The brewer's mechanics, from puncturing the K-cup to forcing pressurized hot water through it, orchestrate a precise balance of flavors and temperature. With maintenance and troubleshooting in mind, your Keurig will hum along, delivering a fresh, satisfying cup every time, making it a coffee lover's best friend.

