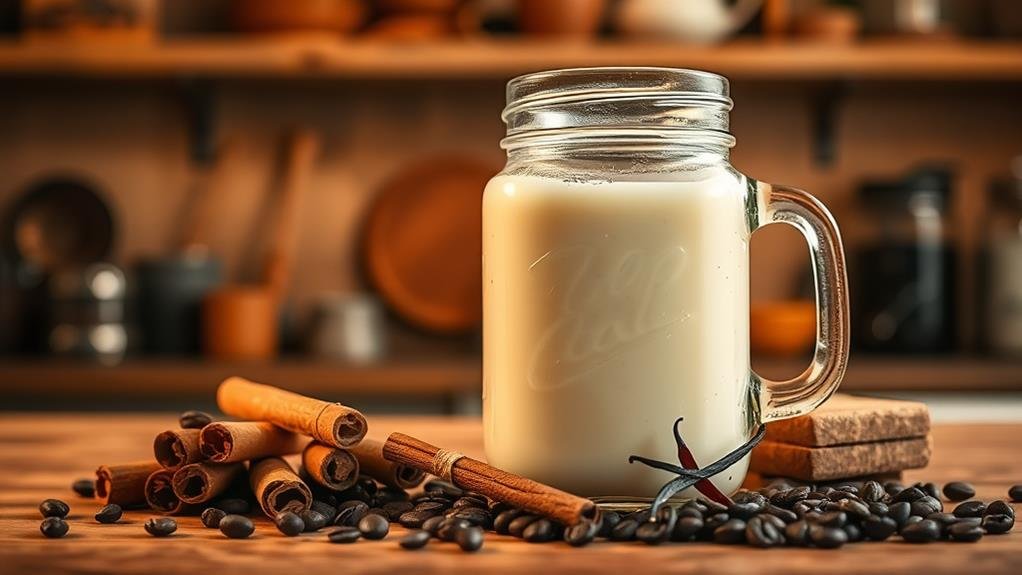
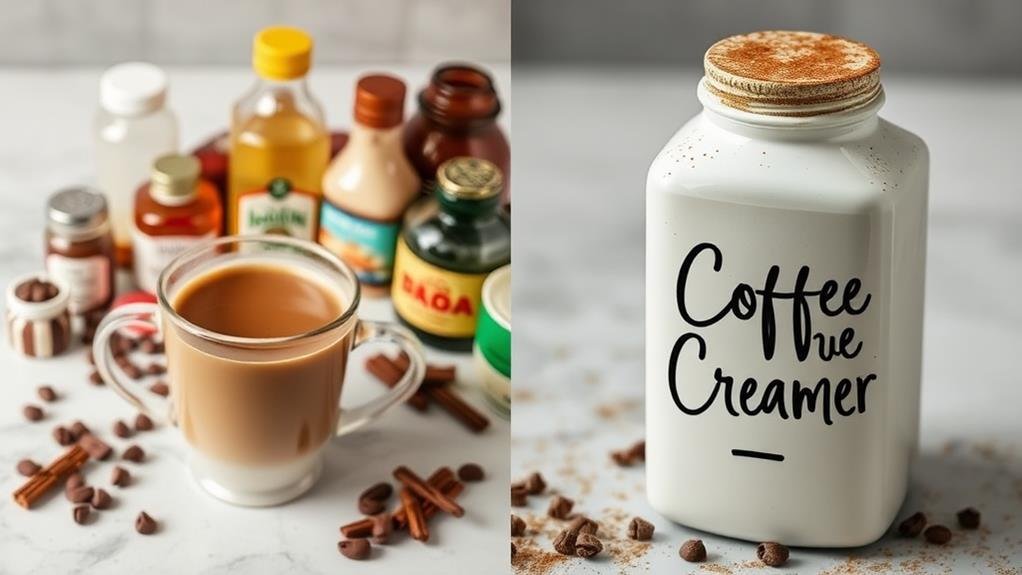
As I started experimenting with DIY coffee creamers, I was surprised by how much of a game-changer it was for my morning routine. By making my own vanilla creamer from scratch, I could finally ditch the store-bought alternatives packed with unwanted additives and sugars. I discovered that with just a few simple ingredients, I could craft a rich, velvety creamer that elevated my coffee to a whole new level. And the best part? It's incredibly easy to customize to my taste. But what really makes this DIY approach worth trying is…
Making Homemade Vanilla Creamer

To make a delicious and personalized vanilla coffee creamer, I start by combining 2 cups of milk, 1 tablespoon of sugar, and 1 teaspoon of pure vanilla extract in a medium saucepan. This simple process allows for control over ingredients, guaranteeing that I can avoid any unwanted preservatives. I heat the mixture over medium heat, whisking constantly, until the sugar dissolves and the milk starts to simmer. This step is essential to create a rich and flavorful creamer. Once the mixture cools, I strain it into a clean container to remove any impurities. I can adjust the sweetness and flavor of the creamer to suit my taste preferences by adding more sugar or vanilla extract. Unlike store-bought creamers, my homemade creamer lacks preservatives, so I make certain to label it with the sell-by date of the milk used to ensure freshness. I can also customize the flavor by adding a pinch of salt or using sweetened condensed milk for a sweeter taste. With this simple recipe, I can enjoy a high-quality, personalized vanilla coffee creamer without the added preservatives found in store-bought options.
Shelf Life and Storage Tips
Now that I've perfected my homemade vanilla coffee creamer recipe, it's time to think about how to keep it fresh for as long as possible. Since I'm making it from scratch, I want to guarantee I'm storing it properly to extend its shelf life. Typically, homemade vanilla coffee creamer can last about a week in the refrigerator. To keep it fresh, I store it in an airtight container in the fridge. This helps prevent contamination and keeps the ingredients from spoiling quickly. Additionally, using a coffee brand with a unique flavor profile, like Nescafe Classic, can enhance the overall experience of my morning brew.
After a week, I check for signs of spoilage, such as a sour smell or unusual appearance. If I notice any of these signs, I know it's time to make a fresh batch. Homemade creamer may not last as long as store-bought options due to the lack of preservatives. However, with proper storage and refrigeration, I can enjoy my freshly made vanilla coffee creamer for a longer period.
Before using my homemade creamer, I shake it well to verify the ingredients are evenly distributed. This step is essential to maintaining the creamer's flavor and texture. By following these storage tips and checking for signs of spoilage, I can enjoy my homemade vanilla coffee creamer's freshness and flavor for a longer time.
Customizing Your Coffee Creamer

My morning coffee ritual isn't complete without a delicious, customized creamer that suits my taste buds. With a homemade coffee creamer recipe, I can tailor my creamer to my taste preferences by experimenting with different sweeteners, base milks, and flavor variations. I like to adjust the sweetness level to my taste by using sugar, honey, or maple syrup. I've also found that using different base milks, such as whole milk, half-and-half, or dairy-free options like almond milk or coconut cream, can notably change the flavor profile. Adding vanilla extract or vanilla bean paste gives my creamer a rich and creamy flavor. I can also personalize my coffee experience by trying out different flavor variations like caramel, hazelnut, or peppermint. By mixing and matching these ingredients, I can create unique combinations that suit my morning brew. The possibilities are endless, and I love that I can customize my creamer to my heart's content. With a little experimentation, I can create the perfect creamer that makes my morning coffee ritual truly special.
Sweet Vanilla Coffee Creamer Recipe
After weeks of experimenting with various flavor combinations, I've nailed down a simple recipe for a sweet vanilla coffee creamer that's become a staple in my morning routine. My sweet vanilla coffee creamer recipe is a French-inspired twist on traditional creamers, with a rich and velvety texture. I use half-and-half as the base, which provides a smooth and creamy foundation. To enhance the flavor profile, consider adding a bit of peppermint extract for a delightful twist during the colder months. To add a touch of sweetness, I mix in a drizzle of real maple syrup and a hint of homemade vanilla extract, made by steeping vanilla beans in vodka. For an added boost of flavor, I sometimes add a pinch of vanilla bean paste. Feel free to adjust the sweetness to your taste, as this recipe is quite forgiving. You can also substitute coconut milk for a dairy-free option or experiment with granulated sugar for a different sweetness level. This creamer is perfect for hot or cold coffee drinks, and you can even use it in hot cocoa for a unique flavor twist.
Benefits of Homemade Creamer

I've found that making my own sweet vanilla coffee creamer has more advantages than just the delicious flavor. By choosing to make a homemade creamer, I gain control over the ingredients that go into it, avoiding those hard-to-pronounce additives found in store-bought options. This not only promotes awareness of the ingredients I consume but also allows me to tailor the flavor to my personal preferences. Plus, making my own creamer is more cost-effective, as I can use simple ingredients like milk, sugar, and vanilla extract to create a variety of flavors. I can customize the flavor to my liking, saving money compared to store-bought options. With homemade creamer, I no longer have to settle for the limited flavors available in stores. I can experiment with different flavors and ingredients, creating a unique taste that suits my taste buds. Overall, making my own homemade creamer has been a game-changer for my morning coffee routine.
Additional Tips and Options
The possibilities don't end with the basic recipe. Once you've perfected your homemade vanilla creamer, you can start experimenting with different flavors and ingredients to create unique variations. For instance, I like to add a pinch of cocoa to give my creamer a mocha twist or use almond milk to create a dairy-free version. If you're looking for healthier options, consider switching to sugar-free sweeteners like stevia or monk fruit. You can also add a splash of vanilla extract or scrape the seeds from a vanilla bean to intensify the flavor. To extend the shelf life of your creamer, simply freeze it in ice cube trays or an airtight container, where it'll keep for up to six months. Don't be afraid to experiment with alternative ingredients like coconut cream for added thickness or canned pumpkin for a seasonal twist. When shopping for store-bought creamers, be mindful of hidden additives like carrageenan, sugar, and unhealthy fats. With a little creativity, you can create a homemade French vanilla coffee that's tailored to your taste preferences and dietary needs.
Conclusion
I've now perfected my morning coffee routine by making my own DIY vanilla coffee creamer. With this simple recipe, I've taken control of the ingredients and sweetness levels to create a flavor profile that suits my taste buds. Whether I prefer dairy-based or dairy-free, this creamer adds a rich, velvety texture to my coffee. I've discovered a cost-effective, customizable, and healthier alternative to store-bought creamers, and I'm excited to experiment with new flavors and ingredients to elevate my morning brew.

