
Making coffee on a campfire is as much about the journey as it is about the destination. Just as gathering firewood and igniting the flames set the stage, brewing your coffee becomes a ritual that enhances your outdoor experience. I've found that starting with dry hardwoods like oak or maple guarantees a consistent burn, which is vital for even heating. As I carefully position my coffee pot over the hot coals, the anticipation builds. But what really sets campfire coffee apart from its indoor counterpart? The answer lies in the details of each brewing method, and I'm excited to share those with you.
Gather Firewood and Ignite
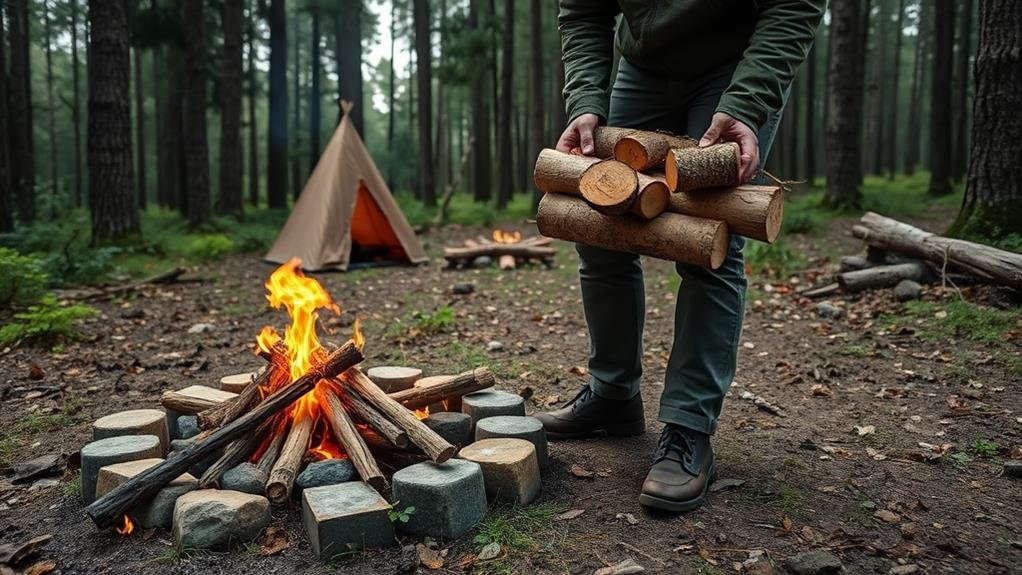
To make great campfire coffee, I start by gathering dry firewood like oak or maple. These types of wood burn well and provide a consistent, hot fire, which is essential for brewing coffee. Once I have enough firewood, I carefully ignite the fire, making sure it burns until I have a bed of hot coals. This process usually takes about 20 minutes, allowing me to guarantee I have a stable base of hot coals for even heating.
Creating a circle of hot coals specifically for brewing coffee helps me control the heat level. This setup is vital because it allows me to adjust the temperature as needed while I prepare my coffee. While the fire is burning down to coals, I can prepare my coffee grounds. Freshly ground beans are a must for the best flavor, so I make sure to grind them just before use.
With my fire ready and my coffee grounds prepared, I'm one step closer to making delicious campfire coffee. Next, I need to boil some water over the hot coals, but for now, focusing on the right firewood and igniting it correctly sets the stage for a perfect cup of coffee even in the cold outdoors.
Build the Perfect Campfire
To build the perfect campfire for making coffee, I start by selecting the right firewood. Hardwoods like oak and maple are ideal because they burn longer and produce more coals. Once the fire is burning well, I let it settle for a few minutes to create a bed of hot coals.
Firewood Selection
When it comes to building the perfect campfire for making coffee, selecting the right firewood is important. The type of firewood you choose directly impacts the efficiency and quality of your campfire, which in turn affects your ability to make a great cup of coffee.
Opt for dry, seasoned firewood like oak or maple for ideal burning and heat production. Avoid using green or wet wood, as it can create excess smoke and produce less heat. Hardwoods are generally better than softwoods because they burn longer and more consistently.
A well-balanced fire requires a mix of small kindling, medium-sized sticks, and larger logs. This combination ensures that the fire starts easily, grows steadily, and provides sustained heat. Properly seasoned firewood is important; it has lower moisture content, which improves combustion efficiency and reduces smoke.
Coal Formation
Building the perfect campfire for making coffee involves more than just lighting a pile of wood; it requires a strategic approach to coal formation. After you've lit your fire, allow it to burn for about 20 minutes. This time is essential as it helps form a bed of hot coals, which are necessary for brewing coffee on a campfire.
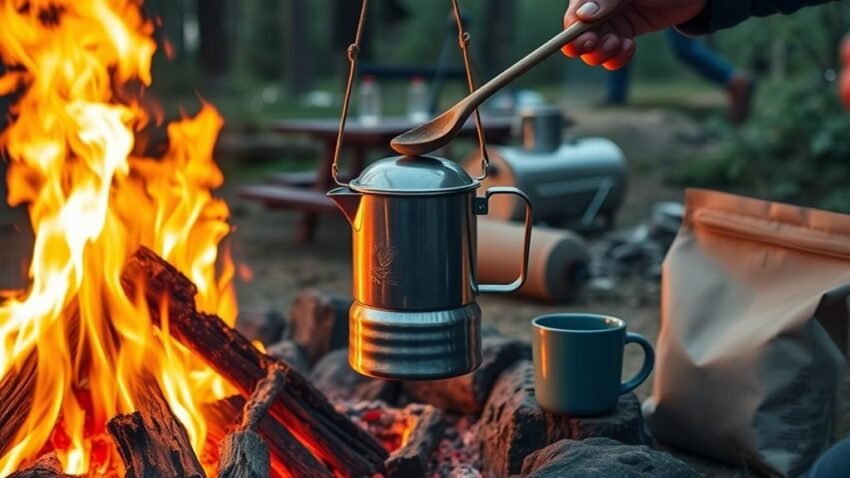
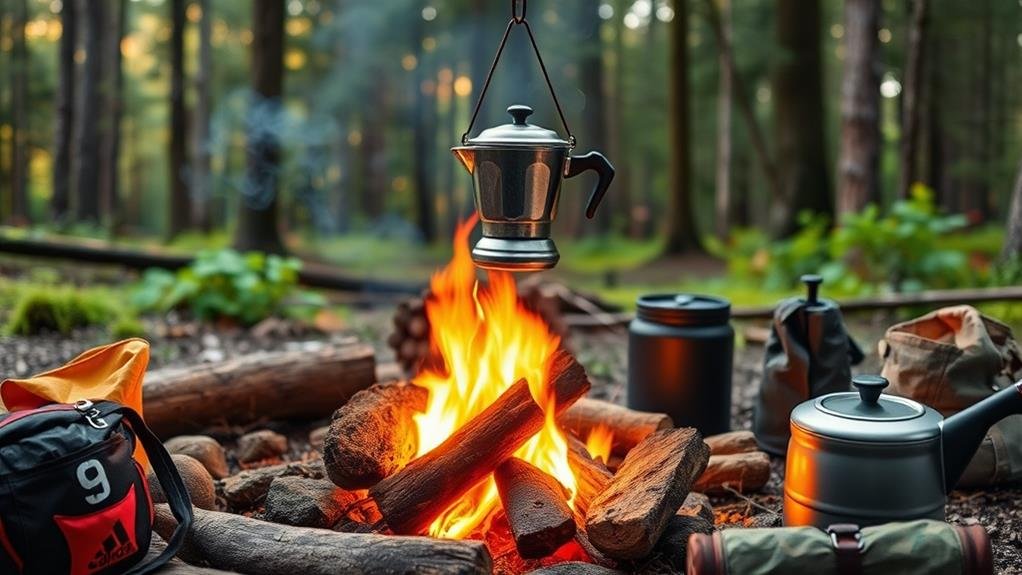
Once your coals are ready, gather the brightest glowing ones into a small circle. This concentrated cluster will provide the intense heat needed to boil water efficiently. Position your coffee pot directly over these hot coals, making sure that the heat rises directly into the pot.
Using this method, you'll be able to boil water quickly and effectively, which is key to making great campfire coffee. Remember, building a small, hot fire with separated coals is vital for this process. By focusing on coal formation and positioning your pot correctly, you'll create an ideal setup for brewing coffee while camping. This approach guarantees that your water heats up swiftly, making the entire process smoother and more enjoyable.
Choose Your Coffee Method
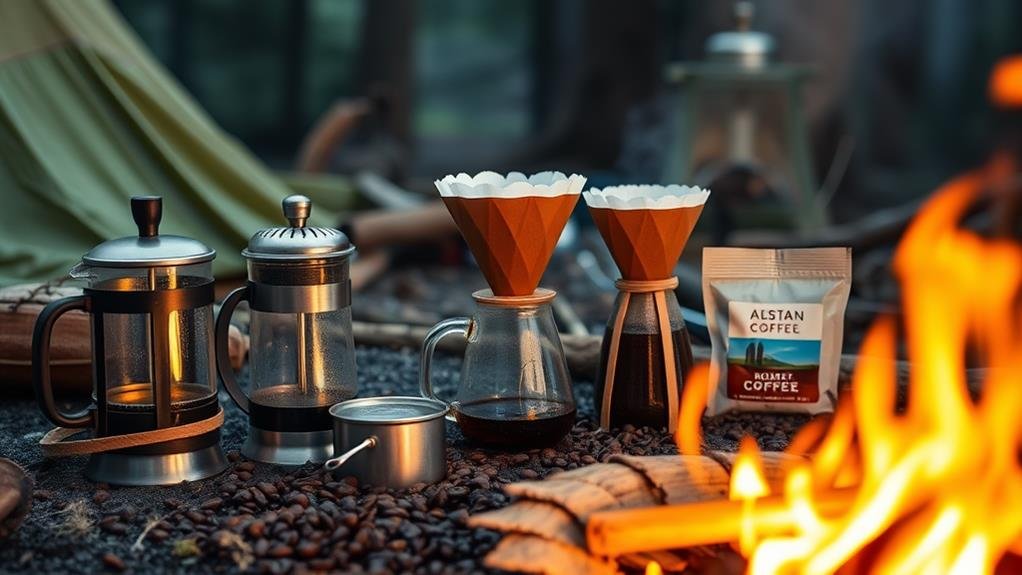
Choosing the right coffee method while camping can greatly impact your morning routine. When it comes to brewing coffee over a campfire, you have several options to choose from, each offering unique advantages and experiences.
Coffee Methods for Camping
| Method | Description | Pros | Cons |
|---|---|---|---|
| Cowboy Coffee | Boil water with coffee grounds directly for a robust and traditional campfire brew. | Simple, no equipment needed. | Can be coarse, grounds in coffee. |
| Instant Coffee | Opt for instant coffee for a quick and convenient caffeine fix while camping. | Fast, easy to prepare. | Less flavor, lacks richness. |
| French Press | Use a French Press for a rich and flavorful coffee experience over a campfire. | Rich flavor, easy cleanup. | More equipment to carry. |
| Percolator Coffee | Experience the classic campfire brewing method with a percolator for strong and aromatic coffee. | Classic method, aromatic flavor. | More complex setup, heavier gear. |
| Wildland Coffee Bags | Enjoy the convenience of coffee bags for a quick and quality cup of coffee at camp. | Easy to use, portable. | Similar to tea bags; less control over brewing time. |
Each method caters to different needs and preferences. If you're looking for convenience, instant or wildland coffee bags might be the way to go. For a more traditional or richer flavor, consider cowboy coffee or a French press. If you're willing to carry a bit more gear, a percolator can offer a classic camping experience with aromatic flavor.
Cowboy Coffee Instructions
If you're looking for a traditional and robust coffee experience while camping, cowboy coffee is a great choice. To make cowboy coffee, start by boiling water with coffee grounds directly over a campfire. For every 3 pints of water, use around 6 teaspoons of ground coffee in your campfire coffee pot. Once the water is boiling, let the coffee steep for about 3 minutes to allow the flavors to meld.
After steeping, you'll need to settle the grounds. You can do this by adding a small amount of cold water or using crushed eggshells; both methods help the grounds sink to the bottom of the pot. Once settled, carefully pour the coffee into cups to avoid stirring up the grounds.
Cowboy coffee offers a classic and rich flavor that's perfect for campers in the great outdoors. The simplicity of its preparation complements the rugged beauty of your surroundings, making it an ideal choice for those who enjoy the basics of nature. With its bold taste and straightforward brewing process, cowboy coffee is sure to satisfy your morning coffee craving while camping.
Percolator Coffee Guide
When it comes to brewing coffee on a campfire, using a percolator can be a great option. To get started, you'll need to choose the right percolator for your needs, such as the GSI Outdoors Percolator Coffee Pot. Next, you'll want to focus on the best coffee-to-water ratio and learn some tips for perfect percolation to guarantee a flavorful brew.
Choosing the Right Percolator
For a campfire coffee experience that's both long-lasting and delightful, I always choose stainless steel percolators. These options, such as the Coleman 12-Cup or GSI Outdoors models, are perfect for outdoor brewing due to their sturdy construction.
When selecting the right percolator for your campfire coffee needs, several features are essential to keep in mind:
- Material: Stainless steel percolators like Stanley or Ozark Trail are resilient and ideal for enduring the demands of campfire use.
- Adjustable Brew Strength: This feature enables you to personalize the coffee to your preference, ensuring each cup is just perfect.
- Portability: Seek percolators that are simple to carry and clean, making them handy for outdoor use.
- Functional Design: Elements like glass knobs and hanging handles can improve the usability of your campfire coffee pot.
- Ease of Cleaning: Choose percolators with effortless cleaning options to save time and energy during your camping trips.
Optimal Coffee-to-Water Ratio
To craft the ideal cup of percolator coffee over a campfire, I focus on getting the coffee-to-water proportion just right. For percolator coffee, a general rule is to use 1-2 tablespoons of coarsely ground coffee per 6 ounces of water. This proportion is essential because it directly influences the strength and flavor profile of the brewed coffee.
Using coarser grounds is recommended for percolators as it prevents grounds from getting into your coffee, making each sip smooth and enjoyable. However, you might need to adjust this proportion based on your personal preference for stronger or milder brews. If you like a bolder cup, lean towards the higher end of this range; if you prefer it milder, use less coffee.
Experimenting with different proportions can help you find the perfect balance. The key is to taste as you go and make adjustments accordingly. By getting this proportion right, you guarantee that your campfire coffee is both rich in flavor and satisfying. Remember, it's all about finding what works best for you—a little trial and error will lead you to that flawless cup every time you use your percolator coffee pot.
Tips for Perfect Percolation
Once you've nailed the coffee-to-water ratio, it's time to focus on perfecting the percolation process. This is where the art of brewing coffee in a percolator really comes into play.
Here are some key tips to help you achieve perfect percolation:
- Use the right grind: Opt for coarsely ground coffee for a robust brew.
- Monitor the brew: Poke a hole in the coffee filter and watch for the mixture to turn a coffee color.
- Adjust brew strength: Longer percolation time results in stronger coffee, so adjust according to your taste.
- Practice makes perfect: Mastering the percolator takes practice, so don't be discouraged if your first few brews aren't perfect.
- Choose the right equipment: Opt for a stainless steel percolator with features like glass knobs and hanging handles for functional campfire coffee brewing.
French Press Campfire Coffee
When I'm out in the wilderness, there's nothing quite like a rich, full-bodied cup of French press campfire coffee to start my day. This method is a favorite among campers due to its simplicity and the high-quality brew it produces. Using a portable French press allows for an intense coffee extraction, capturing the oils and flavors of the grounds that other methods might miss.
To make French press campfire coffee, you simply steep coffee grounds in hot water and then press them down to separate the grounds from the liquid. This process guarantees that every cup is rich and flavorful. The equipment is also easy to transport and clean, making it ideal for outdoor use.
The convenience of French press campfire coffee is hard to surpass. It doesn't require much gear beyond your French press and a campfire to heat water. Once you've brewed your coffee, you'll enjoy a smooth and full-bodied brew that's perfect for enjoying in the great outdoors. Whether you're waking up early for a hike or relaxing by the campsite, French press campfire coffee is an excellent choice.
Pour-Over Coffee Techniques
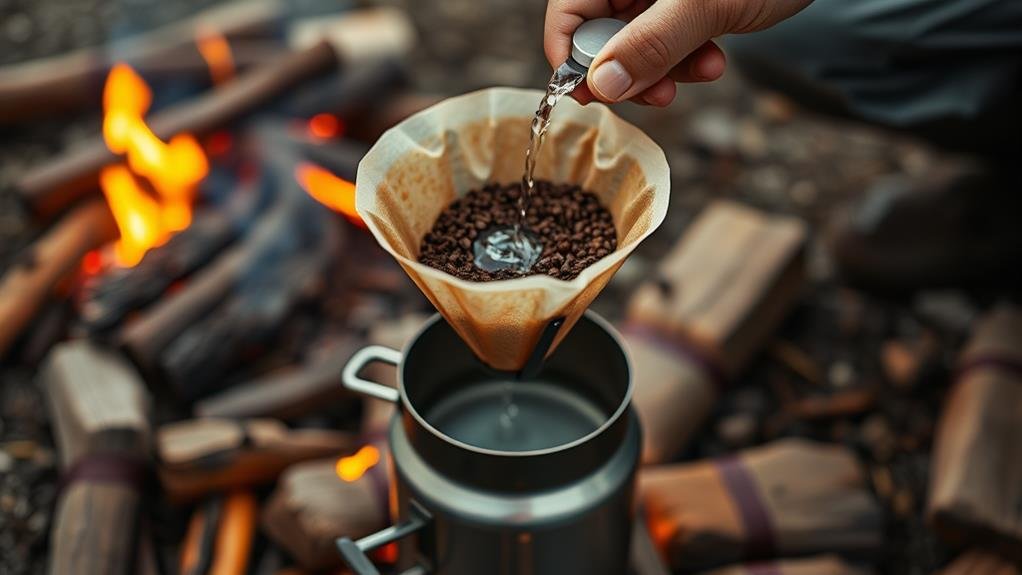
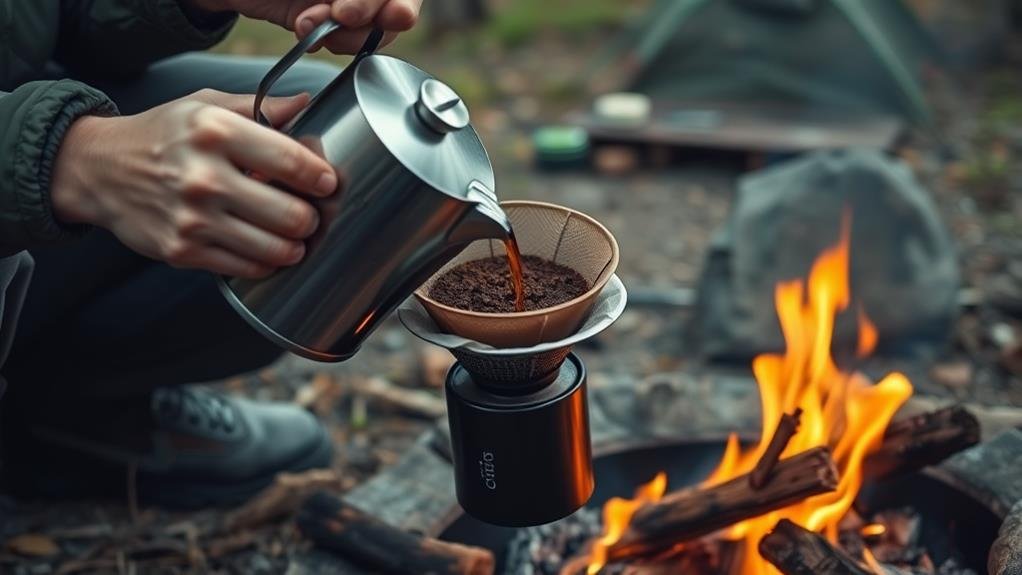
After enjoying the rich flavors of French press campfire coffee, I often find myself looking for a brewing method that offers a different yet equally satisfying experience. This is where pour-over coffee techniques come into play. Pour-over coffee is known for its clarity and complexity of flavors due to the controlled brewing process.
To make pour-over coffee on a campfire, you'll need a few key pieces of equipment:
- Filter: Paper filters ensure a clean and crisp final cup.
- Hot Water: Use boiling water to extract the best flavors from your coffee grounds.
- Gooseneck Kettle: This allows for precise control over pouring, making it easier to evenly saturate the grounds.
- Blooming Technique: Wet the grounds to release trapped gases before pouring more hot water; this improves extraction and flavor.
- Pouring Control: Slowly pour hot water over the coffee grounds to highlight the flavors.
Cold Brew Coffee Method
To make chilled brew coffee on a campfire, I start by preparing the necessary ingredients and equipment. I need coarse coffee grounds, cold water, and a container that can withstand the elements. Since chilled brew involves steeping the grounds in water for an extended period, typically 12-24 hours, I plan ahead to ensure my coffee is ready when I need it.
The process is simple: I add the coarse grounds to my container and pour in the cold water. The mixture then sits undisturbed for the required time. This method results in a smooth, less acidic coffee with a slightly sweet flavor profile—perfect for campers who prefer a milder taste.
One of the biggest advantages of chilled brew coffee is its convenience. It can be prepared in advance and stored in the fridge or even kept cool in a shaded area if I don't have access to refrigeration. This makes it ideal for camping trips where time and resources might be limited.
Once steeped, I can enjoy my chilled brew black or customize it with milk, cream, or sweeteners to suit my taste. This versatility adds another layer of convenience, making chilled brew coffee an excellent choice for campers seeking a invigorating and easy-to-make coffee beverage.
Removing Coffee Grounds
Removing coffee grounds from your chilled brew is a straightforward process that I find myself doing frequently on camping trips. It's crucial to make sure that your coffee is free from grounds for a smoother drinking experience.
To efficiently eliminate the grounds, follow these steps:
- Skim the surface: Use large spoons to skim the surface of the coffee to remove any floating grounds and froth.
- Add cold water: Adding a small amount of cold water helps sink the grounds, making them easier to eliminate.
- Pour carefully: Pour the skimmed coffee into mugs for serving, making sure that the settled grounds stay at the bottom.
- Settle grounds: If any grounds are still present, let the coffee sit for a moment to allow them to settle.
- Serve smoothly: Gently pour the coffee into mugs, minimizing the amount of grounds that get transferred.
Tips for Best Campfire Brew
When I'm camping, I find that using freshly ground coffee beans makes a significant difference in the flavor of my campfire brew. This simple step enhances the taste and aroma, making it a staple for any outdoor enthusiast.
To optimize your coffee is sediment-free, you can settle the grounds with cold water or even crushed eggshells. Here's a quick guide on how to adjust your brewing process for best flavor:
| Brewing Factor | Adjustment Tips |
|---|---|
| Time | Adjust brewing time to control strength. Shorter times result in lighter flavors, while longer times yield stronger brews. |
| Temperature | Use hotter water for bolder flavors and cooler water for milder tastes. |
| Settling | Skim the surface or add a small amount of cold water to settle grounds for a smoother experience. |
Experimenting with alternative brewing methods like instant coffee or French press can also offer convenient and flavorful options for campfire coffee. These methods provide consistency and ease, allowing you to enjoy a perfect cup every time you're outdoors.
Conclusion
Making coffee on a campfire is a journey worthy of the great explorers. Just as Lewis and Clark navigated uncharted territories, you've navigated the steps to brew a perfect cup. From gathering firewood to selecting your brewing method, each step is essential. Now, as you savor your rich and flavorful campfire coffee, remember that the best adventures often start with a well-brewed cup. Enjoy your journey and the coffee that fuels it.